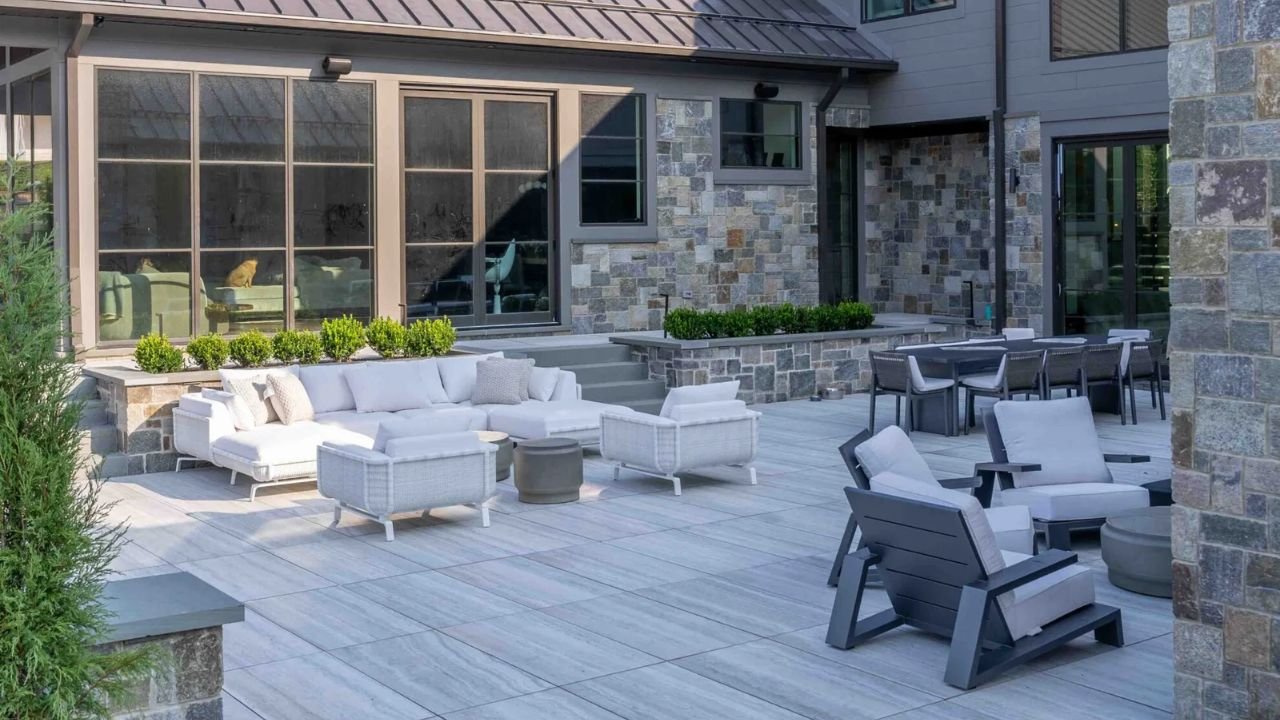

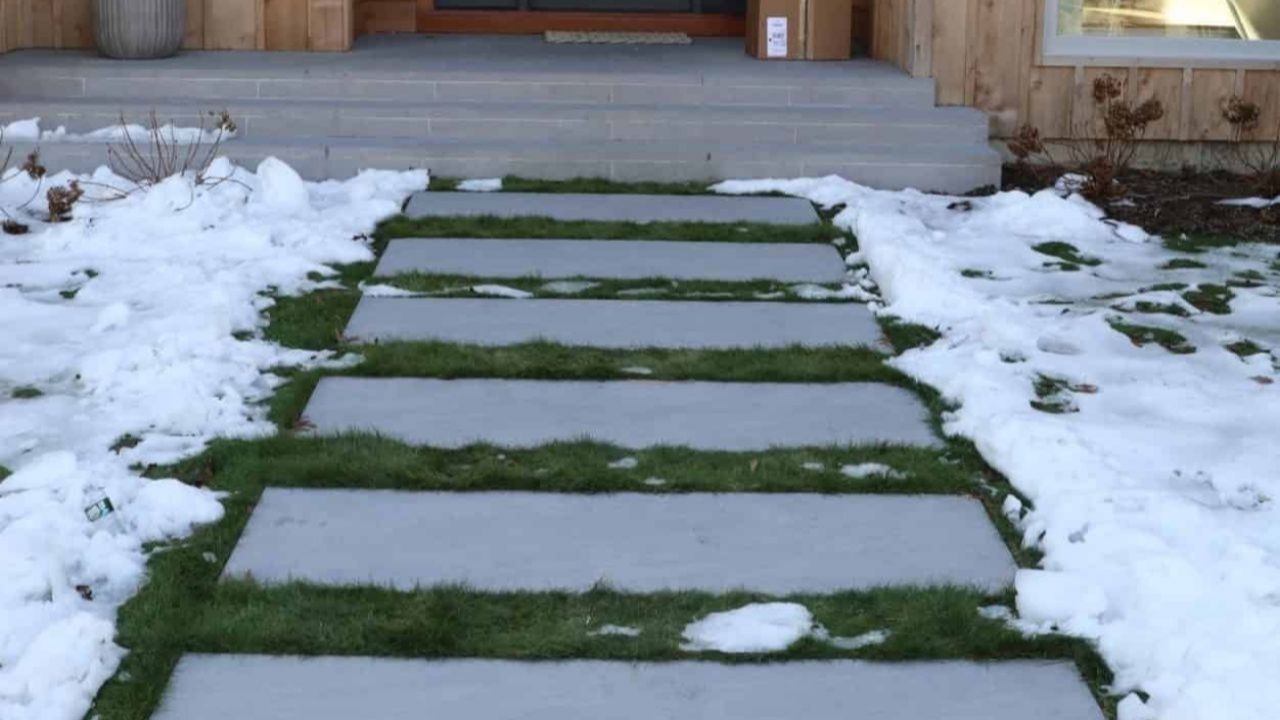
Winter can be the toughest season for many paver types. Even premium granite or porcelain pavers can be stressed during harsh winters. From freeze-thaw cycles, changing temperatures, and deicing salts– everything can affect pavers regardless of the installation system. This is why winterizing outdoor stone, pool coping, and pavers matters a lot for a lasting landscape.
Many natural stones and concrete pavers can absorb water. When moisture freezes within the material or its surrounding joints, repeated freeze-thaw cycles can contribute to cracking, scaling, and surface deterioration. In areas like New Jersey, New York, and Pennsylvania, temperatures can easily reach the freezing point several times each winter. The small cracks widen and loosen joints, causing pavers to shift and flake the surface.
The best time to make your pavers ready for winter is late October and November. You have mild temperatures, stone dries between rains, and sealers still cure. If you delay until December, the weather will not stay gentle for you.
Pavers Winterizing Checklist
These are the steps you should take to make your outdoor stone pavers and coping winter-proof.
- Clear the surface by removing planters, furniture, and leaves.
- Clean the pavers, outdoor stone, and coping, then wait for them to dry for 24 to 48 hours.
- Mark and repair loose, cracked, or settled units.
- Refill joints with polymeric sand.
- Apply a breathable penetrating sealer while temperatures are still 50°F.
- Clear drains and redirect downspouts.
- Inspect pool coping and expansion joints before pool closing.
- Stock plastic shovels and a stone-safe de-icer.
Clean the Surface First
Step 1 of paver winterizing is cleaning the surface. You should check whether the surface is a driveway or a patio, and clean any dirt, leaf stains, moss, and efflorescence. They can hold moisture against the stone.
- Start by sweeping first and removing any dust and debris.
- Remove rust stains from furniture or metal planters using a cleaner suitable for your specific stone or paver material.
- Avoid using harsh acids and high-pressure washers. They can strip joint sand and dull the surface of concrete pavers and soft stones.
- Let the surface dry for 24 to 48 hours before you touch it again.
- Do not seal the surface when it is damp, as it traps the moisture and leaves a cloudy film.

Inspect and Repair Damage
Step 2 is to inspect the surface for damage and make repairs.
- You should walk the whole surface and look for problems like cracked pavers, rocking or sunken units. Check any gaps along edge restraints and pooling water after rain.
- This is a crucial step because water may enter through any of these defects.
- Replace any cracked pavers so water can’t get trapped underneath them. The freezing ice will widen the crack by spring.
- Re-set sunken units on fresh bedding sand. If a section keeps settling, the base has failed and needs a contractor.
Refill Joints With Polymeric Sand
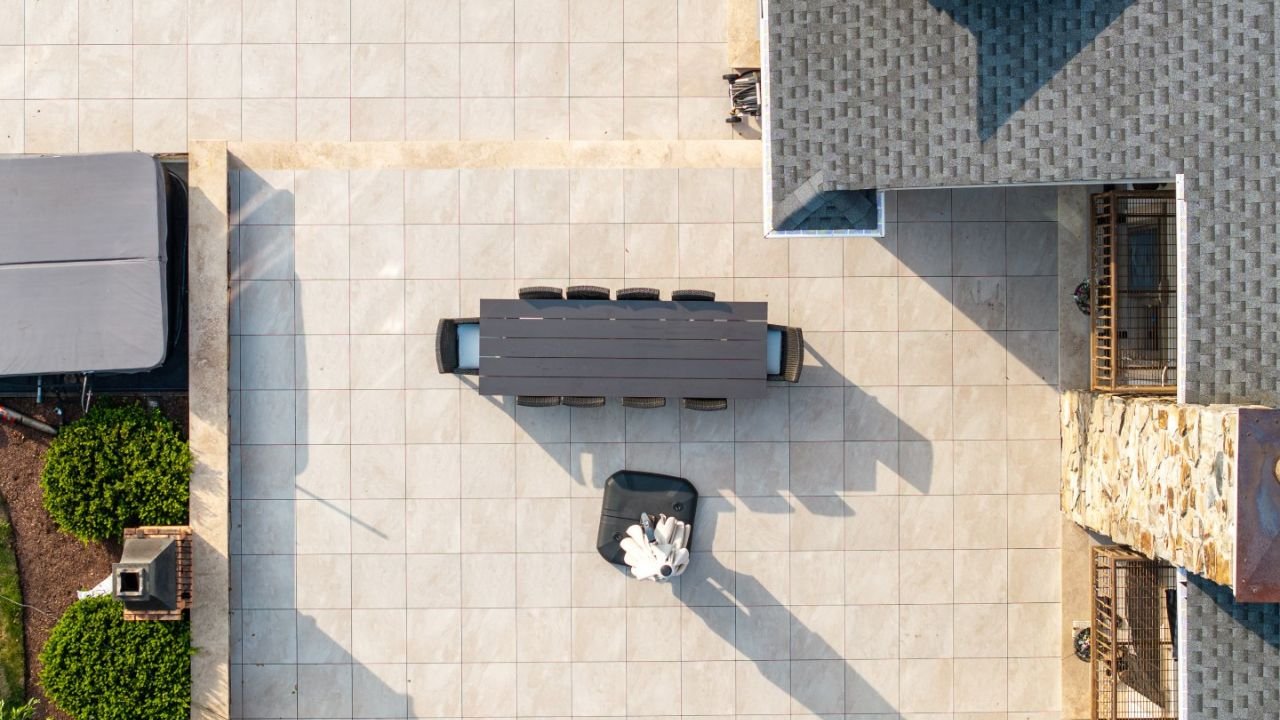
Step 3 of paver winterizing is refilling the joints with polymeric sand. Joint sand locks pavers together and blocks weeds and water. Summer storms or rains may wash it away and leave joints empty. This can cause pavers to shift under freeze-thaw pressure.
- Sweep polymeric sand into clean, dry joints, following the product manufacturer’s instructions for joint depth and application. Compact the pavers if required, remove all excess sand from the surface, and activate the sand using the specified amount of water.
- Allow the joints to cure for the period stated on the product label. Check the forecast for the required dry weather and temperature conditions before starting.

Sealing Pavers Before Winter
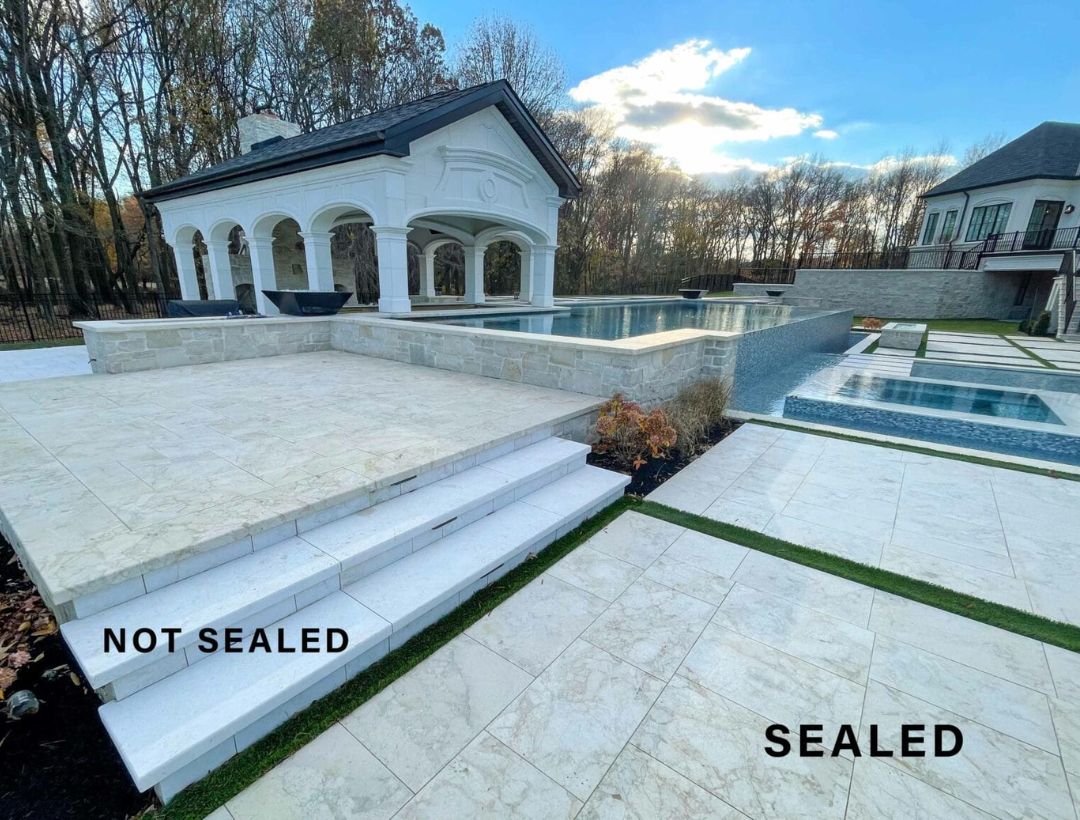
Step 4 of paver winterizing is sealing. Not every paver requires sealing, but natural stone coping, pavers, and often concrete pavers require it. When suitable for the material, sealing pavers before winter can reduce water absorption and help protect the surface. Proper joint installation and drainage are also important for limiting joint-sand loss.
- You will need to select a breathable penetrating sealer. Film-forming sealer may look shiny but trap vapor and peel after repeated freezing.
- The best temperature to apply sealer is above 50°F (with a sweet spot around 60°F to 75°F) for both air and surface. In New Jersey, New York, and Pennsylvania, temperatures can fall below the required application range in late autumn, so check the forecast before sealing.
- If forecasts look cold, wait until spring instead of sealing in marginal weather. A badly cured sealer causes more damage than no sealer.
Skip sealing on new patios until the pavers have settled and dried out. Many manufacturers recommend waiting several months after installation, so check the paver supplier’s guidance.
Fix Drainage
Step 5 of paver winterizing is to fix any drainage issues. Water shouldn’t accumulate on the surface; it can damage the surface.
- Clear the drains, trench grates, and downspout outlets of leaves.
Check if the surface slopes away from the house and that no downspout discharges onto the patio. A small grading fix in October prevents ice sheets in January.

Winterize Pool Coping Before Pool Closing
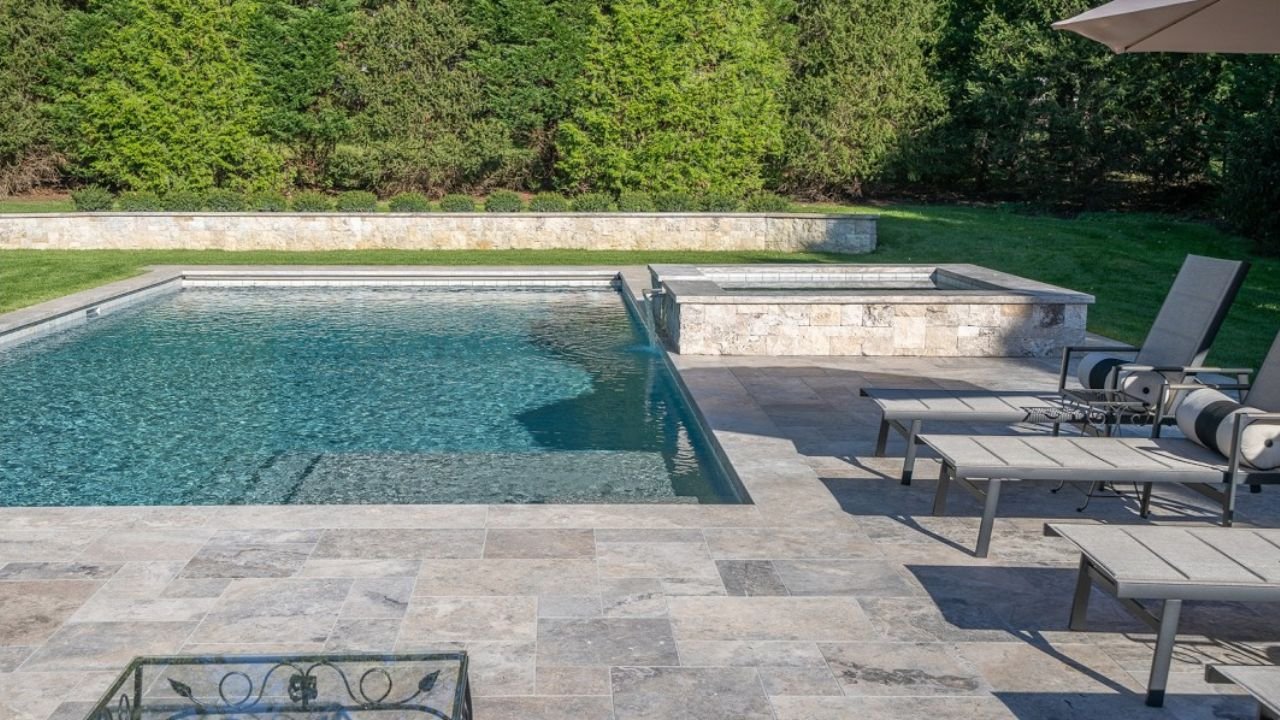
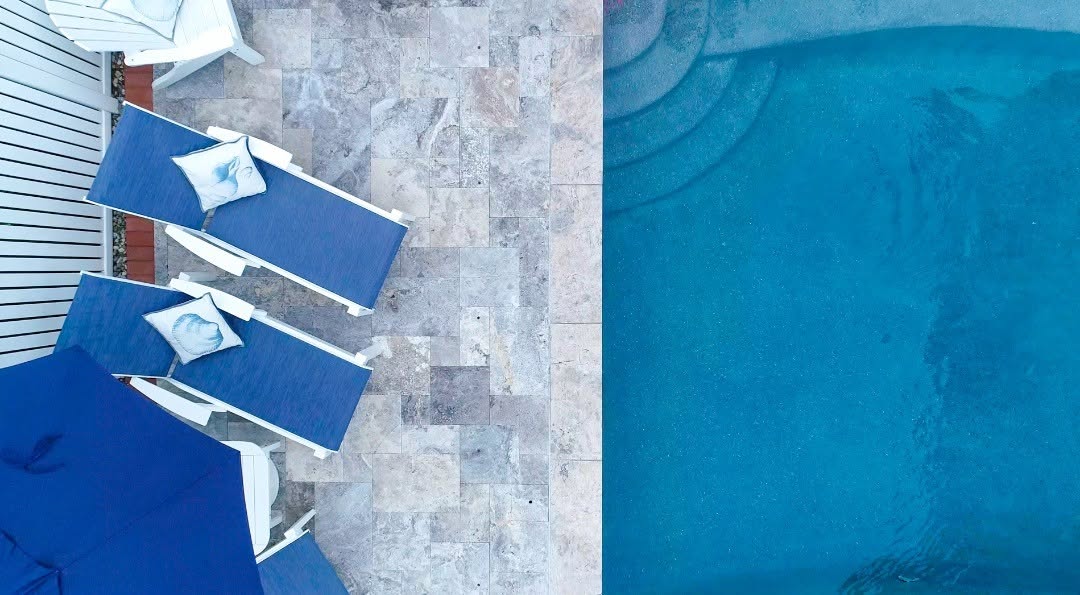
Step 6 of paver winterizing is pool coping winterizing as well. Pool coping has to face more abuse than any other hardscape. It stays at the edge of a water-filled structure, and it stays wet longer than the surrounding deck. Winterize pool coping before the crew closes the pool, because you need clear access to the edge.
- Start by checking mortar beds and joints. Check for loose or rocking pool coping units along the patio deck or tile line. A hollow sound may indicate a debonded area, so investigate further and have loose coping properly repaired or reset.
- Inspect the expansion joint between the coping and the deck. Replace cracked or missing sealant so meltwater cannot reach the bond beam.
- Look for efflorescence and stains. White deposits signal water moving through the stone.
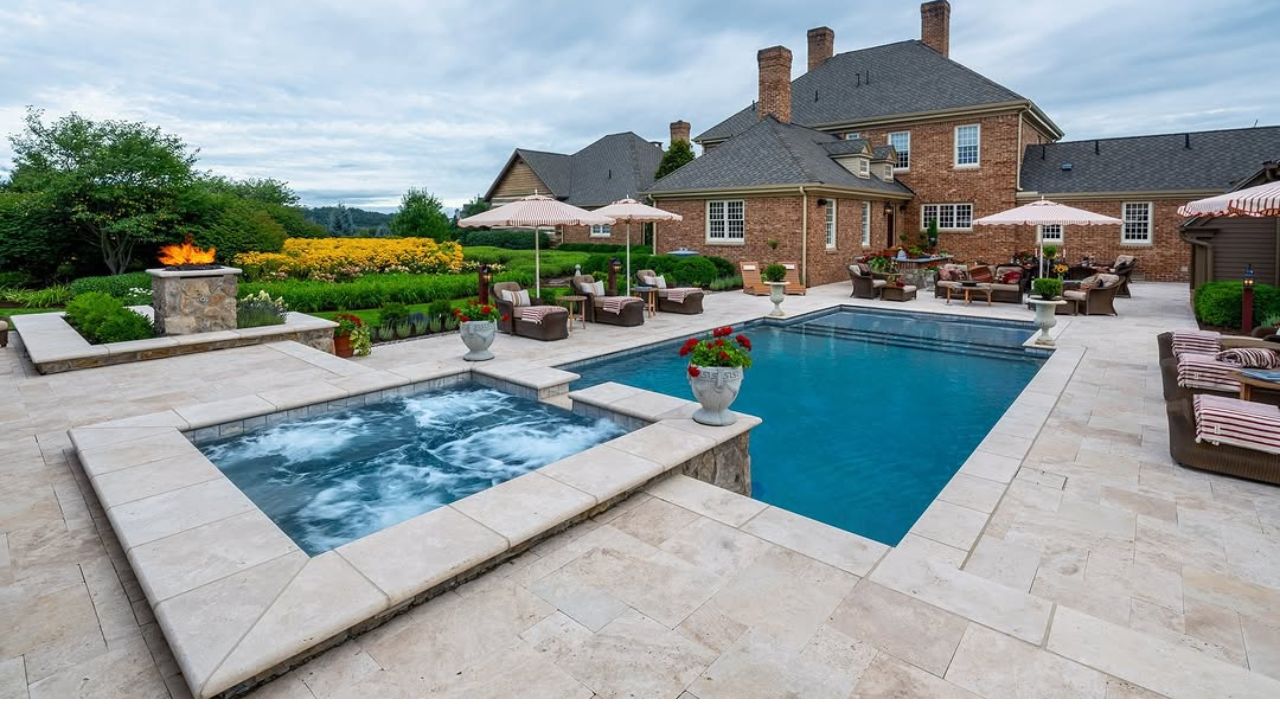
- Seal porous coping such as travertine, limestone, and sandstone with a penetrating sealer before winter.
- Rinse salt residue. Saltwater pools leave salt on the coping, and it speeds surface flaking.
- Leave water levels to your pool professional. Lowering the water too far or draining a pool can damage the shell.
Protect Natural Stone and Porcelain Differently
When winterizing the outdoor pavers, keep in mind that different materials absorb water differently. So each requires a different level of protection.
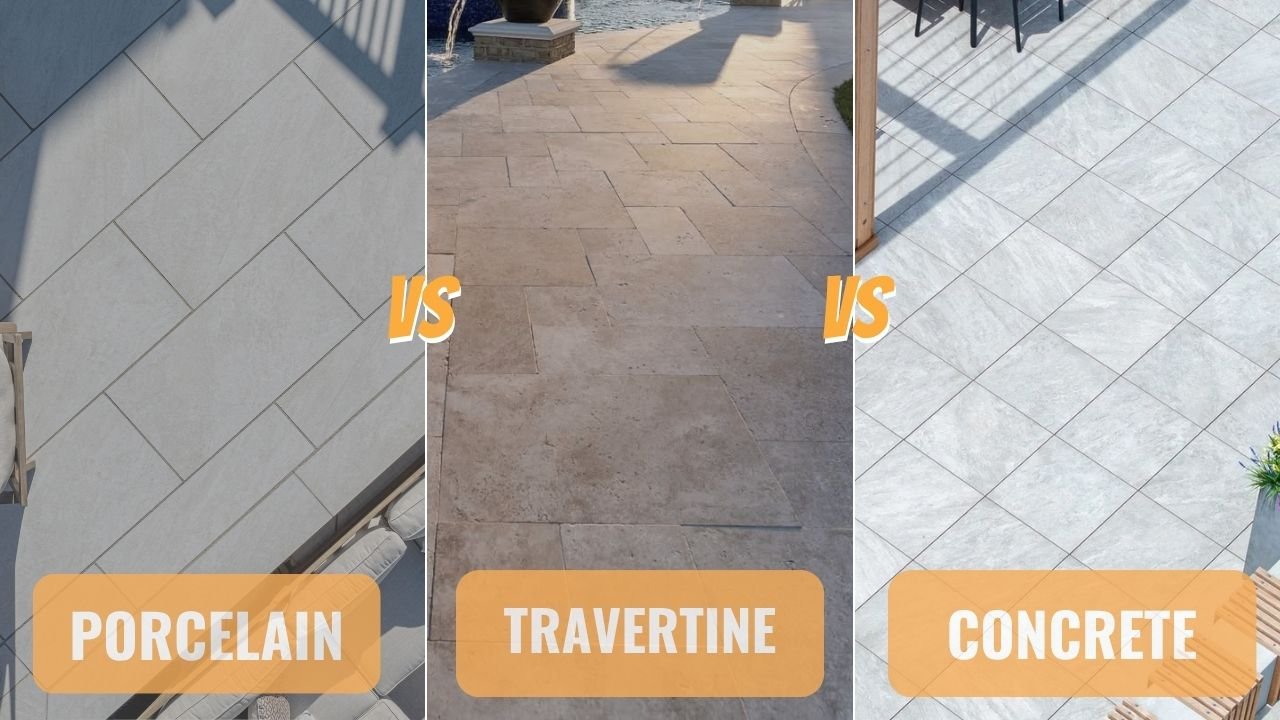
| Material | Winter risk | What to do |
| Travertine | Porous, can spall under salt and ice | Penetrating sealer, check filled voids |
| Bluestone and limestone | Absorb water and de-icers | Penetrating sealer, plastic shovel |
| Concrete pavers | Surface scaling from salt | Sealer, polymeric sand, no rock salt |
| Porcelain pavers | Very low absorption | Clean, check joints, no sealer needed |
Porcelain still needs a strong base and proper drainage. The material resists freezing, but a failed base does not.
De-Icing and Snow Removal
During snow season, you may opt for de-icing products and snow removal techniques. Rock salt is a sodium chloride substance that attacks the concrete pavers and porous stones. The salt dissolves, enters the pores, and recrystallizes, which results in surface flaking. Ammonium-based melters cause similar damage. You can use the following instead:
- Use coarse sand or fine, angular crushed gravel, such as limestone grit or traction grit, to improve grip on icy surfaces without using chemical de-icers. Choose a material compatible with your pavers or natural stone to minimize the risk of scratching the finish.
- Calcium magnesium acetate, a gentler melter, when traction is not enough.
- A plastic shovel or a rubber-edged blade. Metal edges chip pavers and scrape sealer.
Keep snow off from pool coping whenever you can. Piles melt and refreeze in the same spot. This repeats the freeze-thaw cycle in one place. Avoid de-icing products that are incompatible with the pool, coping, or surrounding materials, and prevent runoff from entering the pool wherever possible.
Spring Check
After the thaw, inspect the surface for new gaps in the joints, rocking pavers, and white salt residue. Refill joints where needed using a suitable jointing material. Consider resealing in spring if the surface needs it and the manufacturer recommends it. Contact a contractor about sections that have settled or heaved, as these may indicate a base or drainage problem.
Commonly Asked Questions About How to Winterize Pavers?
Questions about winterizing pavers answered.
Do pavers need to be sealed before winter?
Depends. Porcelain pavers don’t need to be sealed. Concrete pavers and natural stone benefit from a breathable sealer before winter. This will limit water and salt absorption.
What is the best temperature for sealing pavers?
Apply sealer when air and surface temperatures stay above 50°F through the cure time on the label. In the Northeast, that means finishing by mid-November in most years.
How do you protect pavers in winter?
Clean them, refill the joints, seal them, keep water draining away, and avoid rock salt and metal shovels.
How do you winterize pool coping?
Inspect mortar and expansion joints, re-set loose units, seal porous stone, and finish the work before the pool closes.
Bottom Line
These tips for pavers can help you get your outdoor space ready for winter. From outdoor kitchens to most hardscaping elements, preparing for the cold weather can add to their longevity without affecting their performance.
Effective paver winterizing starts with cleaning, sound joints, good drainage, and repairs completed before winter. These steps help homeowners prepare outdoor hardscapes for winter and identify repairs before the next paving season.