
An uneven patio is more than a cosmetic problem. A sunken paver can collect water, create a tripping hazard, and allow more movement around nearby pavers. The good news is that you usually do not need to rebuild the whole patio. Most interlocking paver systems can be repaired in sections because individual units can be lifted and reset. The important part is to look below the pavers, whether it is a pool deck or driveway. If the base has settled or water has washed material away, simply adding sand will not solve the problem. A proper repair restores the support beneath the pavers and protects the patio from repeat settlement. Here is how you can fix an uneven paver patio without replacing the entire structure.
Common Causes of Uneven or Sunken Pavers
Uneven pavers can result from several problems beneath or around the surface:
- Poorly compacted base: An unstable base can settle under the weight of the pavers and create low spots.
- Soil settlement: Soil that shifts or settles can cause the base and pavers above it to sink.
- Water erosion or washout: Water can remove material beneath the pavers, leaving voids that cause settlement.
- Poor drainage: Excess water can weaken the soil and base, increasing the risk of movement.
- Freeze-thaw movement: Repeated freezing and thawing can move pavers as moisture in the ground expands and contracts.
- Displaced bedding material: Uneven or washed-out bedding material can cause individual pavers to sink or shift.
- Tree roots: Growing roots can push pavers upward and create uneven areas.
- Heavy vehicle loads: Excessive loads can cause driveway pavers to settle when the base is not strong enough.
- Damaged edge restraints: Loose or damaged restraints can allow pavers to spread and shift sideways.
Tools and Materials You’ll Need
Before fixing uneven pavers, gather the right tools and materials to safely remove, level, and reset the affected area.
- Paver extraction tool
- Rubber mallet
- Straightedge or level
- Shovel
- Screed board for leveling the bedding layer.
- Plate compactor for compacting the base and repaired area.
- Base aggregate for rebuilding a settled or damaged base.
- Suitable bedding material for creating an even layer beneath the pavers.
- Jointing sand or polymeric sand for refilling the joints where appropriate.
- Push broom
Step-By-Step Guide To Fix Uneven Pavers
Here is how you can fix uneven pavers without having to replace the patio. This type of paver repair involves removing affected units, correcting the base, and resetting the pavers at the proper level.
Step 1: Find the Uneven Area
Check the paver patio after rainfall. Look for areas where water collects or pavers have settled. Knowing how to level pavers starts with identifying low spots, drainage problems, and areas where the base has settled.
- Look for puddles, soft joints, eroded areas, or water flowing toward the house.
- Place a straightedge across the pavers. This helps you see whether individual units are low or high, or if an entire section has settled.
- Look at the surrounding joints, too. Open or irregular joints can indicate that the pavers have moved sideways rather than simply sinking, which may require adding joint sand.
Step 2: Remove the Affected Pavers
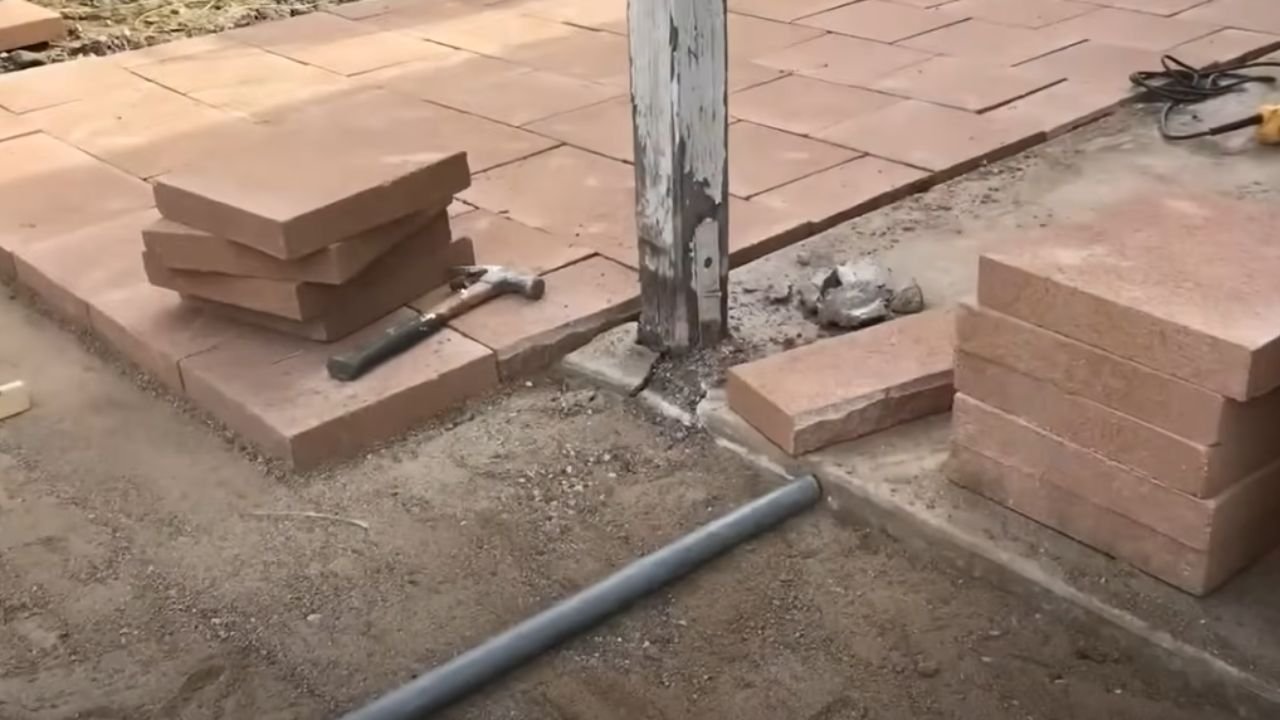
Once you’ve identified the problem area, carefully remove the affected pavers. This step won’t let you remove the entire patio.
- Use a paver extraction tool to lift the damaged units. If you don’t have one, carefully work around the joints with appropriate tools until the paver is removed.
- Keep the pavers in order as you remove them, as this will make it easier to restore the original pattern.
- If a paver has cracked, replace that individual unit rather than disturbing a larger section.
Step 3: Inspect the Base
With the pavers removed, inspect the bedding layer and aggregate base underneath.
- Once the pavers are removed, inspect the bedding layer and aggregate base for any signs of wash-away or damage. Look for loose material, wet spots, voids, erosion, or areas where the base has clearly settled.
- If the base looks solid and only the bedding layer has shifted, the repair may be small.
- If the base has settled, rebuild and compact it. Do not use a thick layer of bedding sand to compensate for a deep depression.
Professional maintenance guidance recommends correcting the underlying base when the surface needs substantial adjustment rather than relying on bedding material alone.
Step 4: Correct the Base
Once the affected area is exposed, correct the paver base before resetting the pavers.
- Remove the loose or damaged material first.
- Add a suitable base aggregate where needed.
- Compact the material in manageable lifts rather than placing a deep layer and trying to compact it all at once. Use a plate compactor for better stability on the surface with low tamper. A properly compacted base provides the structural support that keeps pavers from settling again.
- The repair should also preserve the patio’s drainage slope. Do not make the repaired section perfectly flat if the original patio was designed to shed water.
- For larger repairs, the correct base material and depth depend on soil, climate, drainage, and whether the surface carries pedestrian or vehicle loads.
Step 5: Rebuild the Bedding Layer
After correcting the base, rebuild the bedding layer to provide an even surface for the pavers.
- Once you have corrected the base, restore the bedding layer.
- Use a thin layer of suitable bedding sand for traditional installation. Some modern systems use open-graded chip stone, such as ASTM No. 8, as the bedding material.
- The right material depends on the existing patio system, so match the repair to the original construction where practical.
- Keep the bedding layer even. Do not use it to fill a deep depression in the base.
- Screed the material to the correct height, then avoid walking on the prepared surface.
Step 6: Reset the Pavers
- Place the original pavers back into position. Use a rubber mallet to set the paver tightly on the spot.
- Check the height against the surrounding surface. The repaired pavers should sit at the correct elevation without creating a lip or depression.
- Maintain consistent joints and follow the existing pattern. This matters because even a structurally sound repair can look poor if the joint lines do not match.
At this stage, check the surface with a straightedge and level. Make small adjustments before compacting.
Step 7:Compact the Repaired Area
Once the pavers are positioned correctly, compact the repaired area using equipment appropriate for the paver material.
- Once the pavers are in place, compact the surface using equipment suitable for the paver material and finish.
- You will need protective paver pads or a rubber roller to reduce the risk of scuffing. Follow the manufacturer’s guidance for compacting with the surface. Clean and free of loose sand before joint material is added.
Compaction helps seat the pavers into the bedding layer and reduces small height differences.
Step 8: Refill the Joints
After the pavers are stable, refill the joints with the appropriate jointing material.
- Sweep the material across the surface until the joints are filled to the required level. Follow the product instructions if using polymeric sand.
- Good joints help lock an interlocking paver system together.
- Check the joints again after the first few rain events and add material if needed.
When Can You Repair Pavers Instead of Replacing the Patio?
You can often repair uneven pavers without replacing the entire patio when the problem is limited to a small area. Use the condition of the pavers and the underlying base to determine the right approach.
| Problem | Recommended Repair |
| One or a few sunken pavers | Lift and reset the affected pavers |
| Small localized settlement | Repair and compact the affected base |
| Several adjacent settled pavers | Rebuild the affected section |
| Widespread settlement | Inspect the overall base and subgrade |
| Major drainage problem | Correct the drainage issue before resetting pavers |
| Cracked individual paver | Replace the damaged paver |
If the settlement keeps returning after repair, investigate the underlying drainage, soil, or base problem before resetting the pavers again.
Common Mistakes to Avoid When Fixing Uneven Pavers
Avoid these common mistakes when repairing uneven pavers:
- Adding too much sand: Don’t use a thick layer of bedding sand to hide deep base settlement.
- Ignoring drainage: Address standing water or drainage problems before resetting the pavers.
- Skipping compaction: Properly compact the repaired base to provide stable support.
- Ignoring the drainage slope: Keep the repaired area aligned with the patio’s existing slope so water can drain properly.
- Over-removing pavers: Only remove the affected area unless the surrounding base also shows signs of failure.
- Ignoring edge restraints: Repair damaged or loose restraints that allow pavers to shift sideways.
- Ignoring manufacturer guidelines: Follow the paver manufacturer’s recommendations for compaction to avoid damaging the surface.
What If the Pavers Keep Sinking?
While this step-by-step will help you fix the uneven pavers, the same area may seem uneven again. If you are noticing this on your landscape, it is not just a surface problem.
Repeated settlement can point to poor drainage, unstable soil, inadequate base preparation, erosion, or a damaged edge restraint. Water can also remove or displace material beneath the pavers or a walkway. In these cases, lifting the pavers again without correcting the underlying condition only delays the problem. At NT Pavers, our approach is practical and simple: repair the layer that failed, not just the surface that shows the failure.
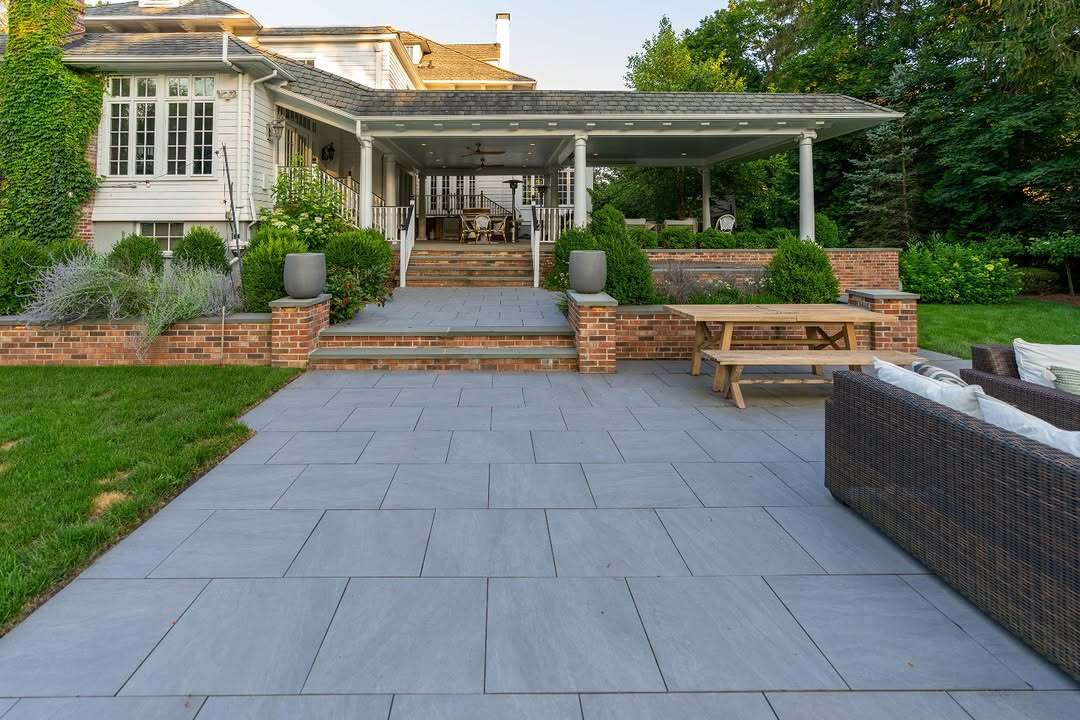
How to Prevent Pavers From Becoming Uneven Again
Proper paver installation and regular maintenance can help prevent pavers from settling or shifting again:
- Prepare the base properly: Build a stable base that suits the soil and expected load.
- Compact each layer: Compact the base in manageable lifts to reduce future settlement.
- Maintain proper drainage: Keep water from collecting beneath or around the pavers.
- Install the bedding layer correctly: Use the appropriate bedding material and maintain a consistent thickness.
- Secure the edge restraints: Keep the pavers from spreading or shifting sideways.
- Maintain the joints: Refill missing joint material when necessary to help keep the pavers locked together.
- Address water problems early: Fix erosion, leaks, or drainage issues before they affect the base.
Uneven Pavers Fixing FAQs
Let’s answer your questions about uneven paver fixing without removing the patio.
Can you fix uneven pavers without removing them?
Yes. Minor height differences may sometimes be corrected through appropriate re-compaction, but a sunken paver usually needs to be lifted and the underlying bedding or base corrected.
Can I just add sand under a sunken paver?
Not always. Only if the problem is limited to the bedding layer. If the aggregate base has settled, adding extra sand underneath the paver can create an unstable repair.
Why are my patio pavers sinking?
Common causes include poor base compaction, water erosion, drainage problems, soil movement, and displaced bedding material.
How do I stop pavers from sinking again?
Find and correct the underlying cause. A stable, properly compacted base, suitable bedding layer, effective drainage, and secure edge restraints all help limit future movement.
Can one section of a paver patio be repaired?
Yes. This is especially possible for an interlocking paver patio where individual units or sections can be removed. It can be installed without replacing the entire surface.
When should I call a professional?
Call a professional when settlement affects a large area, drainage is poor, or the base has major damage. Also, if the patio continues moving after repair, then you should also call a professional.
Bottom Line
Uneven pavers do not automatically mean you need a new patio. Start by identifying why the pavers moved, then lift the affected units, inspect the base, correct any settlement or drainage problems, and reset the pavers properly. For localized damage, repairing the affected area can often restore the patio without replacing the entire surface.