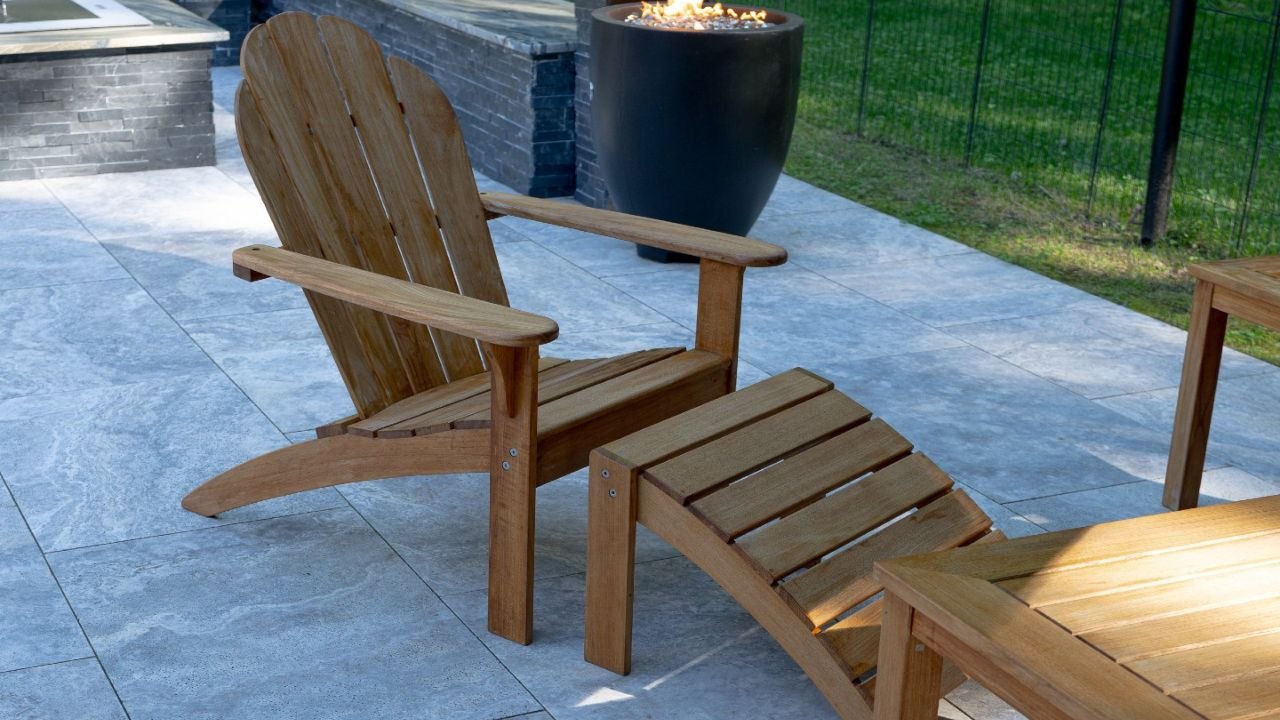

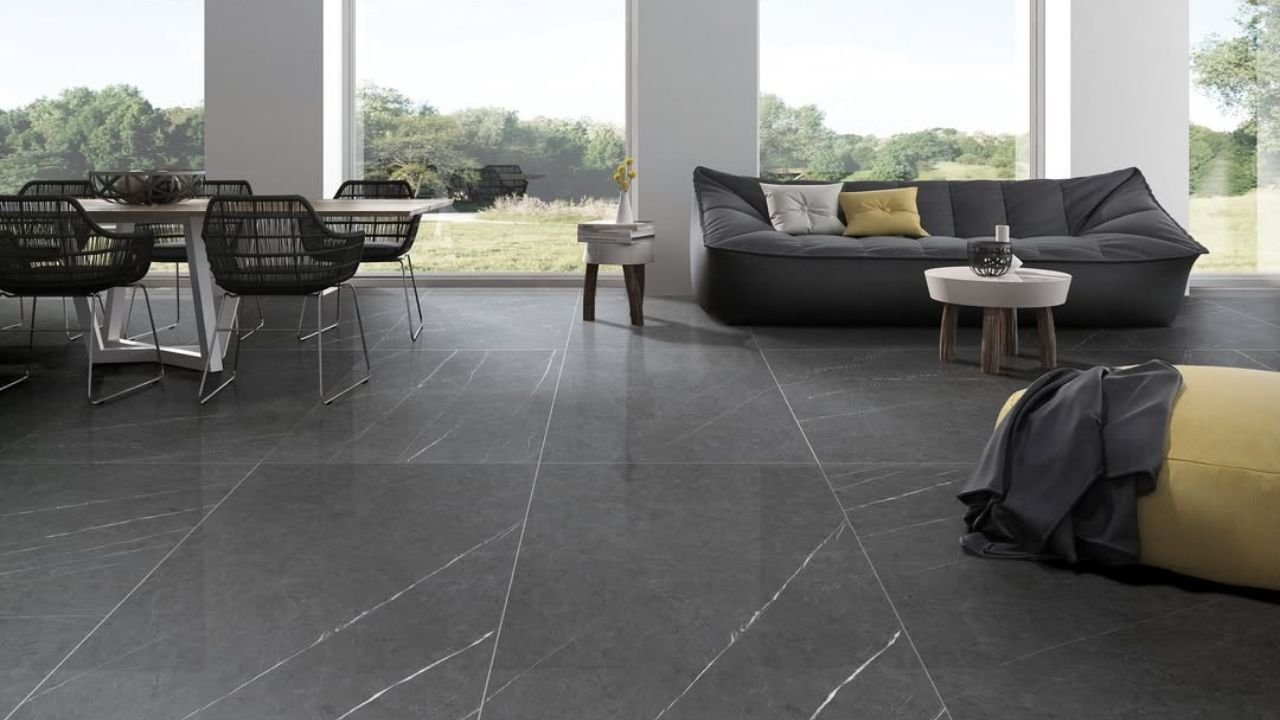
Cold floors are one of the most common complaints about stone and tile, especially in bathrooms, kitchens, and basements during winter. Radiant floor heating solves that problem by warming the floor itself, and hard, dense surfaces such as marble and porcelain are some of the best partners for it. Both materials pass heat to the room efficiently and stay warm after the system cycles off. The real question is not whether the materials can handle heat, but how to build the floor so the tile, the setting materials, and the heating system work together without cracks, loose tiles, or damaged heating wires.
Why Marble and Porcelain Work Well With Radiant Floor Heating
A radiant system warms the slab or subfloor, and that heat moves up through the setting bed into the floor covering. The floor covering acts as the final layer between the heat source and the room, so its density and thickness affect how well the heat reaches you. Carpet and thick wood insulate the floor and slow heat transfer. Stone and tile do the opposite.
Porcelain tile is a dense, fired ceramic with very low water absorption, which makes it dimensionally stable when it warms and cools. It conducts heat evenly and is not affected by the temperatures a residential floor heating system produces. This is why porcelain floor tiles are one of the most common choices for heated tile floors in bathrooms, kitchens, and mudrooms.
Marble is a dense natural stone that stores heat well. A heated marble floor warms up more slowly than thin porcelain, but it keeps releasing heat after the thermostat shuts the system off, which gives an even, comfortable surface. Marble also has natural veining and color variation, so the stone needs a little more care during installation than porcelain. The same thermal benefits apply to other natural stone flooring, including travertine and limestone.

Marble vs Porcelain Over Radiant Heat: Key Differences
Both materials are compatible with radiant floor heating under tile, but they behave differently during installation and use.
| Factor | Porcelain tile | Marble tile |
| Heat-up time | Faster in thinner formats | Slower, especially in thicker tiles |
| Heat retention | Good | Very good; stays warm longer after the system cycles off |
| Water absorption | Very low | Higher; varies by stone and finish |
| Sealing | Usually not needed for the tile surface | Penetrating sealer recommended |
| Subfloor stiffness | Standard tile requirements | Stiffer framing required for natural stone |
| Setting material | Mortar specified by the membrane or heating manufacturer | White mortar for light marble; special mortars for moisture-sensitive stone |
| Main installation risk | Flatness and lippage with large formats | Cracks from floor movement and staining from setting materials |
Porcelain is the more forgiving choice for a busy bathroom or kitchen. Marble gives a richer, natural look and longer heat retention but asks more of the subfloor and the installer. If you like the marble look but want porcelain’s lower maintenance, marble-look porcelain tile is a practical middle ground over a heated floor.

Electric vs Hydronic Radiant Floor Heating Under Tile
There are two main types of radiant floor heating, and both can sit under marble or porcelain.
Electric Radiant Floor Heating
Electric radiant floor heating uses thin heating cables or mats installed directly under the tile, either in the mortar layer or on a membrane designed to hold the cables. It is the most common option for single rooms such as bathrooms and kitchens because it adds very little height to the floor and is easy to add during a remodel. Each zone runs on its own thermostat with a floor sensor.
Hydronic Radiant Floor Heating
Hydronic radiant floor heating circulates heated water or fluid through tubing embedded in a concrete slab, a lightweight topping, or panels under the subfloor. It is usually planned during new construction or a major renovation and suits larger areas or whole-house heating. The tile is installed over the finished slab or panels once they are ready for tile.
For a single heated bathroom, an electric system is usually the simpler choice. For open floor plans and whole-house projects, hydronic heating under stone flooring is often more economical to run over time. In either case, confirm that the system is rated for use under tile and stone.
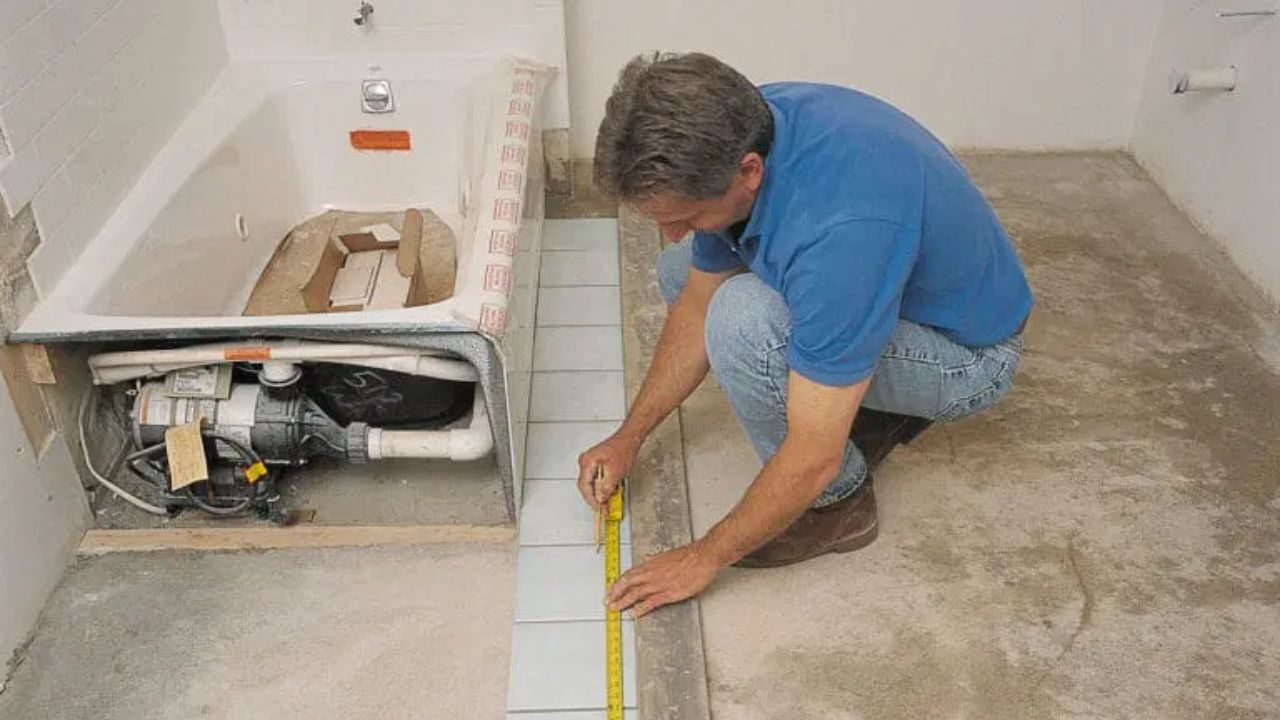
How to Install Radiant Heat Under Marble or Porcelain Tile
A heated tile floor is a system. Each layer has to suit the one above and below it, and the heating manufacturer’s instructions take priority over general advice.
1. Check Subfloor Stiffness
Floor movement is the main cause of cracked tile and stone. On wood-framed floors, natural stone needs a stiffer floor than ceramic or porcelain tile. The TCNA Handbook generally calls for a deflection limit of L/720 for natural stone, compared with L/360 for ceramic and porcelain tile. Concrete slabs should be sound and free of active cracks.
2. Make the Floor Flat
Large tiles show every high and low spot. Industry flatness guidelines are tighter for tiles with any side 15 inches or longer, which includes most 24×48 porcelain tiles and large marble formats. Grind high spots and fill low spots, or use a self-leveling underlayment, before the heating system goes down.
3. Add an Uncoupling or Crack-Isolation Membrane
An uncoupling membrane separates the tile from small movements in the substrate, and many membranes are designed to hold electric heating cables at the correct spacing. This layer adds protection against cracking for both marble and porcelain.
4. Install and Test the Heating System
Follow the manufacturer’s spacing, wall clearances, and thermostat sensor placement. The Ceramic Tile Education Foundation recommends testing electric heating cable before and after it is installed, recording the readings, and photographing the layout before tile is set.
5. Set the Tile With the Right Mortar
Use the thinset mortar specified by the membrane or heating manufacturer and aim for full mortar coverage under every tile. Hollow spots leave cold areas and weak points that can crack. For light-colored marble, use a white mortar so the stone does not darken or show shadows.
6. Leave Movement Joints at the Perimeter
Tile and stone expand slightly as they warm. Leave movement joints at walls, thresholds, columns, and changes in plane, and fill them with a flexible sealant instead of grout. Choose a grout suited to heated floors for the field joints.
7. Let Everything Cure Before Turning On the Heat
Do not use the heating system to speed up curing. Wait for the cure time the mortar, grout, and heating manufacturers specify, then raise the temperature gradually during the first heat-up.
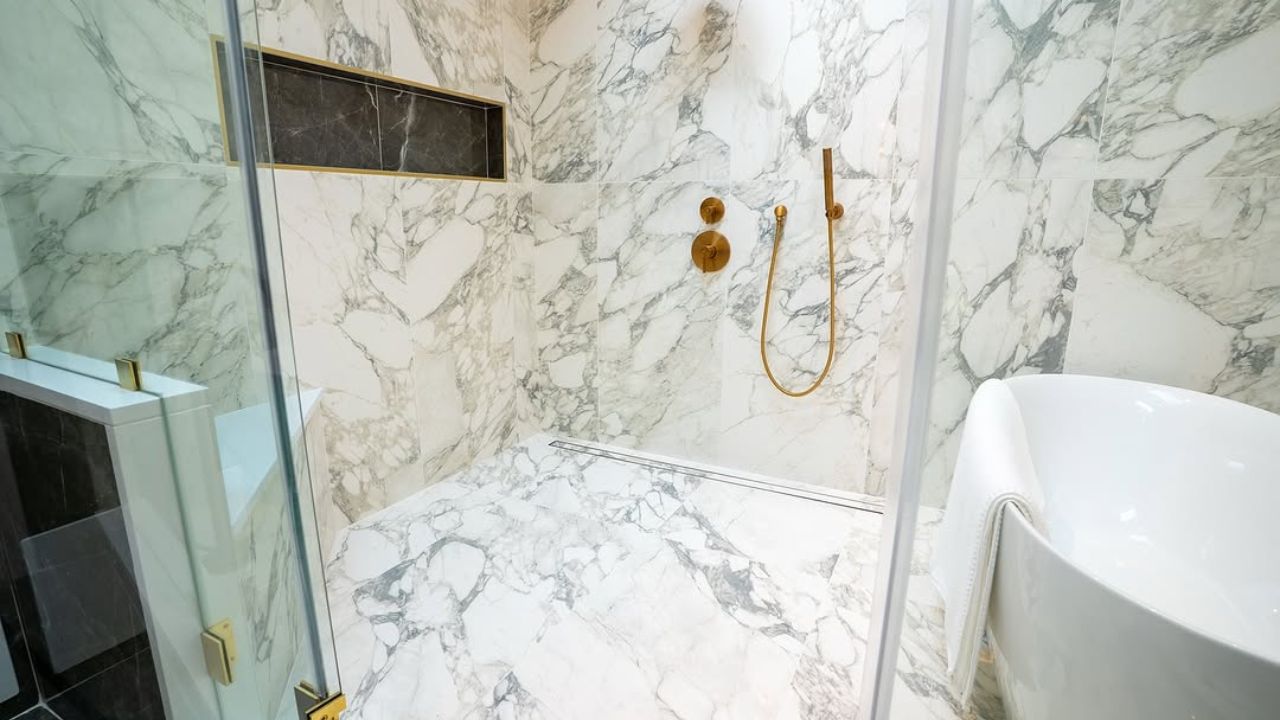
Special Considerations for Heated Marble Floors
Marble works well over radiant heat, but a few stone-specific details decide whether the floor stays beautiful.
- Choose a flooring-grade marble. Some marbles are softer or have more natural fissures than others. Our guide to the best marble for flooring explains which stones handle foot traffic well.
- Watch moisture-sensitive stones. Some green and dark marbles can warp or curl when set with standard water-based mortars. These stones may need a rapid-setting or epoxy setting material, so ask your supplier before installation.
- Seal the stone. Heat does not change marble’s porosity. A penetrating sealer still helps resist spills and makes it easier to remove stains from marble later. Confirm the sealer suits heated floors.
- Pick the finish for the room. Polished marble looks luxurious but is more slippery when wet. A honed finish is usually a better choice for a heated bathroom floor.
- Avoid known installation errors. Many problems with marble floors start with the setting bed, not the stone. Review the most common marble tile installation mistakes before work begins.
Marble’s main trade-offs, such as etching from acidic liquids and the need for sealing, stay the same whether the floor is heated or not. The full list of marble flooring pros and cons is worth reading if you are still choosing between materials. The same installation rules apply to heated travertine floors, which share marble’s calcium-carbonate makeup.
Special Considerations for Heated Porcelain Tile Floors
Porcelain is the lower-maintenance option over radiant heat, but large formats bring their own rules.
- Plan for large formats. Big tiles need a flatter substrate, careful mortar coverage, and a lippage control system. They also mean fewer grout joints, which makes a heated porcelain tile floor easier to clean.
- Check thin slabs individually. Thin porcelain slabs can be used on floors, but confirm that the specific product and thickness are approved for floor use over a heated substrate, and follow the slab manufacturer’s setting method.
- Choose the surface for safety. Matte and textured surfaces offer better grip in wet areas than polished ones. Our guide to porcelain tile surface finishes compares the options.
- Cut carefully near the cables. Porcelain is hard, and a slipped blade or utility knife in a grout joint can cut a heating wire. Plan cuts away from the floor and review how to cut porcelain tile cleanly before you start.
For bathrooms, porcelain’s low absorption and easy cleaning make it a strong match for radiant heat. See the full process for tiling a bathroom floor to understand how the layers fit together.

Common Mistakes With Heated Stone and Tile Floors
Most failures in heated tile floors come from installation shortcuts rather than the tile itself.
- Installing natural stone over a floor that is too flexible.
- Leaving voids under tiles, which create cold spots and cracks.
- Grouting tight to walls instead of leaving perimeter movement joints.
- Skipping the cable test before and after tiling.
- Placing heating cables under cabinets, vanities, or toilets where the manufacturer does not allow them.
- Turning the heat on high before the mortar and grout have cured.
A heated floor installed correctly can last as long as the stone itself. Proper installation is also the biggest factor in how long natural stone flooring lasts, heated or not.

Radiant Floor Heating Under Marble and Porcelain FAQs
Common questions about underfloor heating under marble and porcelain.
Is radiant heat bad for marble floors?
No. Radiant heat is not bad for marble when the floor is installed correctly. Marble handles the temperatures of residential floor heating well. Problems usually come from a flexible subfloor, poor mortar coverage, or missing movement joints, not from the heat itself.
Can you put heated floors under travertine?
Yes. Travertine works well over radiant floor heating and follows the same rules as marble: a stiff, flat subfloor, full mortar coverage, perimeter movement joints, and a penetrating sealer. Filled and honed travertine is a common choice for heated bathroom floors.
Which heats up faster, marble or porcelain?
Thin porcelain tile usually warms up faster because there is less material to heat. Thicker marble takes longer to warm, but it holds heat longer after the system cycles off. Both reach a comfortable temperature with a properly sized system.
Do you need to seal marble over radiant heat?
Yes. Radiant heat does not change marble’s need for sealing. Use a penetrating sealer that the manufacturer approves for natural stone and heated floors, and reapply it as the sealer instructions recommend.
Can you add radiant heat under existing tile?
Not without removing the tile in most cases. Electric heating mats and cables are installed under new tile, and hydronic systems are built into the slab or subfloor. Some hydronic panel systems can be installed from below a wood subfloor, but the result depends on the floor structure.
Is electric or hydronic radiant heating better under tile?
Electric radiant heating is usually better for single rooms such as bathrooms because it is thin and simple to add during a remodel. Hydronic radiant heating is often better for large areas or whole-house heating because it costs less to run over large spaces. Both work under marble and porcelain.
Bottom Line
Yes, you can put radiant floor heating under marble or porcelain, and both make excellent heated floors. Porcelain heats quickly, needs little maintenance, and is forgiving for bathrooms and kitchens. Marble holds heat longer and adds natural character, but it needs a stiffer subfloor, careful mortar choice, and sealing. With a flat, stable substrate, an uncoupling membrane, tested heating cables, and perimeter movement joints, either material will deliver a warm floor for years.
If you are planning a heated floor, compare our marble tiles and bathroom floor tile collections, and ask the NT Pavers team to confirm that your chosen product suits your heating system and room.