Chipped outdoor pavers are not just a cosmetic flaw; they can pose a hazard to the area where they are installed. Whether it’s porcelain pavers in a rooftop garden or stone pavers on a driveway, even a small chip in porcelain brick pavers can lead to moisture infiltration, cracked pavers, or tripping hazards. If you have ever noticed chipped outdoor pavers, don’t rush to replace them, as they can often be repaired. This is usually possible with materials you already have on site. This guide explains how to assess the damage, choose the right fix, and maintain your investment.
What Are The Tools Required To Fix Outdoor Paver Chips?
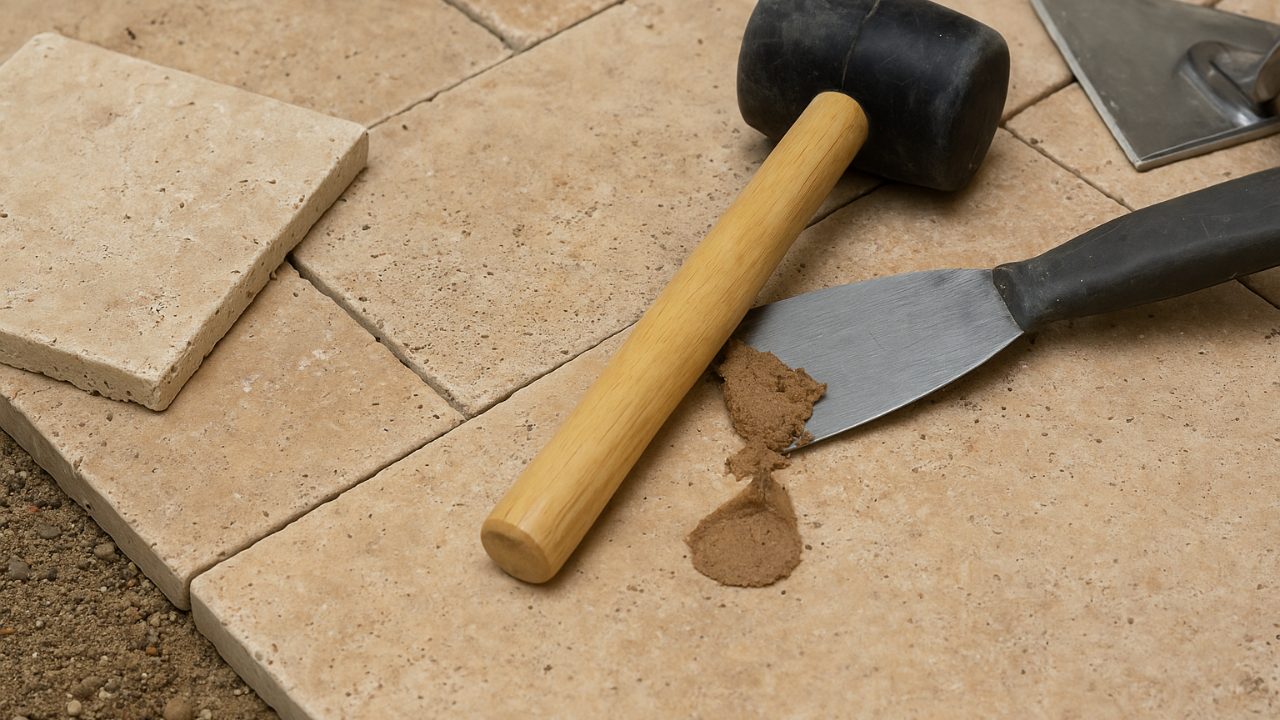
Gather these tools and materials to fix the chipped pavers.
Tools To Fix Outdoor Paver Chips:
- Screwdriver or chisel (for lifting pavers)
- Trowel (for spreading base material)
- Level (to check alignment and slope)
- Rubber mallet (for gently tapping pavers into place)
- Pressure washer (optional, for surface cleaning)
Materials To Fix Outdoor Paver Chips:
- Sand or gravel (for the paver base)
- Paver sand (for refilling joints, preferably polymeric)
- Replacement pavers (if the damage is severe)
How To Assess the Damaged Outdoor Chip
Before you start patching, evaluate the chip:
- If it is a small surface nick, then this is cosmetic damage
- If some deeper cracks or pavers move, then it is structural damage.
- Check for any soil shifting, drainage issues, or improper base, which includes the paver chipping over time.
- Check if the surrounding pavers are intact.
Understand that a chipped-edged paver can be a result of paver shifting or compaction underneath. A proper diagnosis will help you perform a proper repair.
Step-By-Step Guide For Fixing A Chipped Paver
If you have found a chipped outdoor paver, then fixing or repairing it is a more viable option than replacing it. Here is how you can do it.
Repairing Chips with Paver Paste
You can fix the chipped outdoor pavers with a repair paste created with the crushed paver material and adhesive.
- Collect the leftover paver material or crush broken pieces and make a fine powder out of it. Use a mortar and pestle, mallet, or angle grinder (with PPE) for this.
- Mix this powder with the high-strength landscape adhesive or stone epoxy. Mix until the texture resembles thick putty.
- Press the paste into the chipped area with a putty knife. Smooth the surface to match the paver’s original contour.
- Follow the manufacturer’s instructions for drying. Keep the area dry and avoid pressure for 24–48 hours.
- Lightly sand the surface once cured. For textured pavers, use a sponge while the paste is still tacky to mimic the texture.

You can add an oxide powder or pigment to the paste if matching color is crucial, especially for high-traffic areas.
Using Polymeric Sand for Minor Chips
If there are hairline chipping on outdoor pavers, then polymeric sand fills these kinds of minor chips.
- Sweep the sand into the chipped area and the surrounding joints.
- Mist with water to activate the binding agents.
- Let it dry completely.

This works well for shallow chips and stabilizes the area to prevent further erosion.
Replacing a Severely Chipped Paver
If you have found your outdoor pavers severely damaged, that is beyond repair. Here’s how to replace a paver:
- Use two flathead screwdrivers or a paver extractor to gently lift the broken piece.
- Clear out any sand, gravel, or debris. Re-level the base with bedding sand if required.
- Now, place the new pavers in place and gently tap them with the rubber mallet. Check alignment and height with a straightedge.
- Sweep polymeric sand into the joints. Mist lightly to lock it in.

If there are patterned layouts, ensure the replacement paver is placed in the same orientation as the original.
6 Tips to Prevent Future Paver Chips
Outdoor pavers have to face a lot, from foot traffic, furniture, weather, and occasional maintenance tools. Over time, these can result in chip or surface damage. From residential patio pavers or commercial plazas, it is possible to prevent chipping with little effort.
1. Use Edge Restraints
Patios, driveways, and walkways should always have edge restraints installed. For larger areas, install concrete curbing or aluminum restraints. This is because Loose pavers chip easily. Without proper edge restraints, lateral movement may result in pavers shifting and rubbing against each other. This is especially prevalent in areas with lots of foot traffic, pressure from vehicles, or seasonal ground movement.
2. Seal Your Pavers
Sealing outdoor pavers can increase their lifespan. It acts like a protective coat. Water, oil, and debris cannot penetrate the paver surface, which makes sealing a must, especially for porous surfaces like concrete and natural stone. A quality sealer like Hidro SST Natural Stone Pavers reduces surface wear and helps pavers resist flaking and chipping due to freeze-thaw cycles. Reapply every 2–3 years or as required, based on exposure and traffic.

3. Fix Drainage Issues Early
Standing water underneath or around your pavers may weaken their foundation. Over time, this can create instability, which causes the pavers to shift, settle, or crack at the edges. Make sure the paver installation has proper slope and base compaction. French drains, gravel channels, or sloped bedding layers can direct water away. Always inspect low spots after rainfall.
4. Don’t Use Metal Shovels for Snow Removal
Metal shovels can scrape the paver surface or damage the edges, especially the textured or even surfaces. Use a shovel with a rubber or plastic edge. Go for a snowblower with adjustable skid shoes for driveways to prevent blade contact. It’s a small change that prevents long-term damage during winter.
5. Pads Under Outdoor Furniture
Pavers, especially the patio areas, can chip with unpadded furniture legs and rolling items like grills or carts. Use rubber pads, foot protectors, or area rugs under heavy furniture. If possible, avoid dragging metal or wooden furniture across the surface, especially on porcelain pavers or stone pavers, which can crack if struck sharply at the edge. See our guide on how to fix cracked porcelain tile for detailed tile repair.
6. Avoid Dropping Heavy Items
Dropped tools, planters, or equipment can chip even the toughest pavers. Such as porcelain pavers or stone pavers, they are tough and durable but cannot withstand heavy impact and may get cracked with it. Encourage contractors, landscapers, and residents to move equipment carefully. Store tools and materials away from finished surfaces. In commercial settings, use safety mats in zones where equipment is regularly handled.
FAQs About Fixing Outdoor Paver Chips
Here are some of your common questions about fixing outdoor paver chips answered.
Is regular cement good to fix a chipped paver?
No. Cement may not bond properly or match the color. Use a paver repair compound or adhesive-based paste instead.
Will sealing pavers prevent chips?
Yes. Properly sealing the paver can reduce the damage from chipping, water, and stains over time.
When should I replace a paver instead of repairing it?
If the chip is deeper than ½ inch or spreads across the surface, then replacing the paver is the permanent solution till it happens again.
Is polymeric sand safe for natural stone joints?
Yes. But do not compete aggressively. Natural stone can crack if vibrated too hard.
Bottom Line
Outdoor pavers may be durable and built to last, but factors such as improper paver installation, shifting soil, and damaged base may cause paver chipping. Also, they have to face a lot of weather damage and other outdoor elements, which can reduce their lifespan. You can fix outdoor paver chips by assessing the damage and using a proper repair method.
Make sure you understand the nature of the paver and take care of the paver surface to prevent future damage too soon. However, if the damage is beyond repair by any means, then replacing it would be a solid and permanent solution.