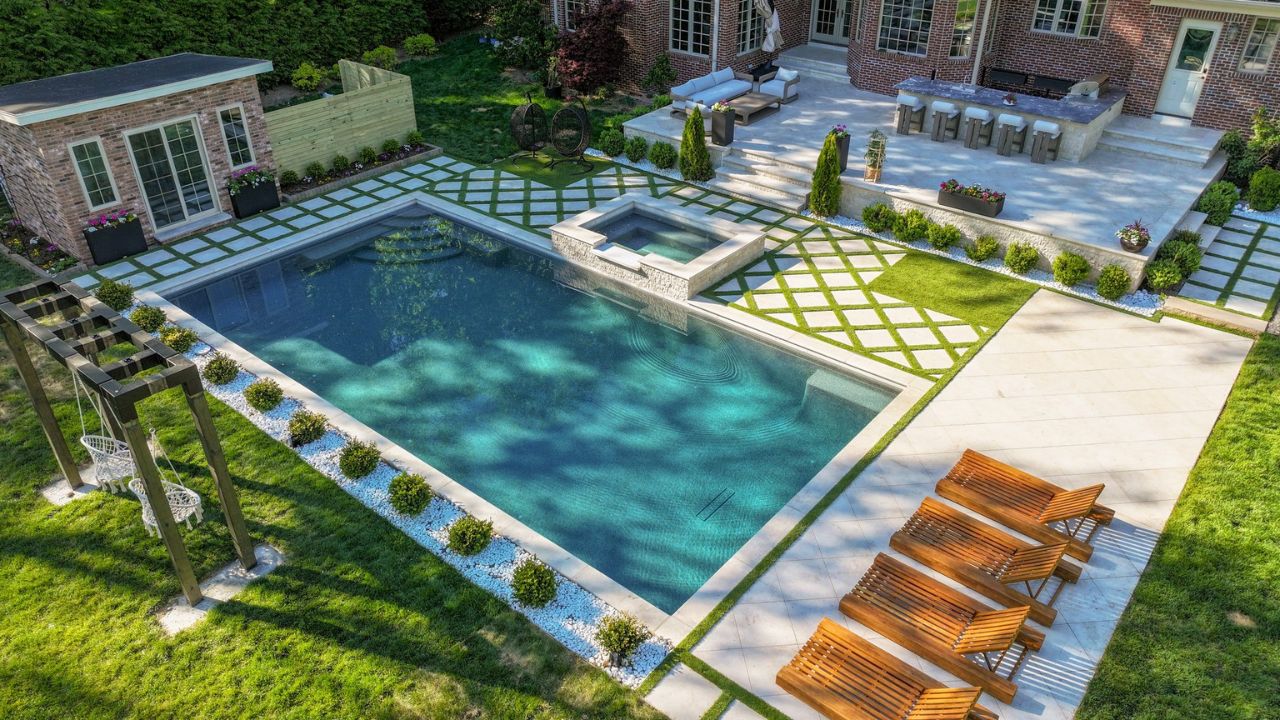
How to level ground for pavers? You will be looking for this information if you want to create a stunning outdoor area all by yourself. Make sure to work on the base level first. This is the only way to make your paver laying results aesthetic and functional for years. However, working on even ground is easier said than done. Not knowing if the ground is up to the standards, the project will be nothing but a waste of time. So in this post, we will help you level the ground to lay pavers evenly afterward. Continue reading the following.
Key Takeaways
- Plan and Mark the area with accurate measurements.
- Excavate properly to the right depth for the base and drainage.
- Maintain a slope (¼ inch per foot) for water runoff.
- Use a gravel base for stability and compact it thoroughly.
- Add and screed sand evenly for a smooth leveling bed.
- Install edging to prevent paver shifting over time.
- Lay pavers evenly using a level and rubber mallet.
- Apply joint sand to lock pavers and prevent shifting.
- Regular maintenance is done by cleaning, refilling sand, and checking drainage.
Gather the Right Tools and Materials To Level Ground For Pavers
Before you start the level ground for pavers, make sure you have all the necessary tools and materials ready for the project. Here’s a basic list:
- Spade or shovel
- Rake
- Tamper or plate compactor
- Level (preferably a long, straight edge level)
- Tape measure and stakes
- String line
- Gravel or crushed stone
- Sand
- Edging materials

Steps Of How To Level Ground For Pavers
Once you have gathered all the supplies, here is how you should start the process.
Plan and Measure the Area
Step 1 of how to level ground for pavers:
First of all, you will need to plan the area carefully that you want to pave. Whether it is a patio, concrete paver walkway, driveway, or any indoor or outdoor area, sketch out the dimensions to understand the amount of materials required. Once you have designed a clear layout, measure and mark the area with stakes and string lines. This will act as your guide during the excavation and leveling steps.
Excavate the Area
Step 2 of how to level ground for pavers:
The first major task to level the ground for pavers is excavating the area. For this step:
-
Dig to The Right Depth:
Most paver projects will require a depth of 6,8 inches. However, it may vary depending on the types of pavers and expected traffic. Usually, driveway pavers have to face heavy vehicle traffic, so they will need a deeper base. Walkways and patios can usually stay within the 6-8 inch range.
-
Account for Base Layers:
Remember that the depth should include not only the paver thickness but also the base layers, such as gravel and sand.
-
Check for a Slight Slope:
Proper drainage is a crucial part of any stone paving project. Make sure the area is tilted a bit away from any buildings, like your house, so water can flow off. Usually, an angle of about 1/4 inch for each foot is enough. This little tilt will stop water accumulation, which may cause paver movement over time.
Lay Down a Base Layer of Gravel
Step 3 of how to level ground for pavers:
For the stability and longevity of the pavers, you will need to create a solid base layer. It is a crucial part to level the ground for pavers. Here’s how you can do it:
-
Spread Gravel Evenly:
Start by adding a layer of gravel or crushed stone around 4-6 inches thick to the excavated area. This layer will offer better drainage and stability, so pavers will not shift over time.
-
Compact Thoroughly:
Compact the gravel with the tamper or plate compactor. Compacting will remove any air pockets, which may cause pavers to sink over time. While compacting, go over the area several times to make sure it is well compacted.
-
Check for Level:
Use a long level across the compacted gravel to make sure it is even. If you find any low spots, add more gravel and compact again.

Add a Layer of Sand for the Leveling Bed
Step 4 of how to level ground for pavers:
You will need to add an inch of sand once the gravel is compacted. This sand layer will be the final leveling bed for the pavers.
-
Spread and smooth the sand:
Spread the sand by using a rake evenly across the compacted gravel. Make sure the sand is distributed in a thin, even layer, around 1 inch deep.
-
Screed the sand layer:
Now, with the two long pipes on top of the sand, create an even surface by dragging them along a straight edge or board. This technique is known as screeding, which will ensure you a uniform, level surface for your pavers to sit on. After screeding, avoid walking on the sand to keep it even.
Set Up Edging to Secure Pavers
Step 5 of how to level ground for pavers:
Edging is another crucial aspect to create a level ground for pavers. will play an important role in maintaining the structure of your paver layout. Pavers will move from their place without this over time and spread around. For this purpose, you should:
-
Choose Durable Edging:
Use metal, plastic or concrete edging, whatever suits your project’s requirements. Make sure the edging is sturdy enough to hold the pavers in place.
-
Install Edging Along The Perimeter:
Anchor the edging securely into the ground around your marked area. This will keep the sand and pavers contained, preventing them from shifting.
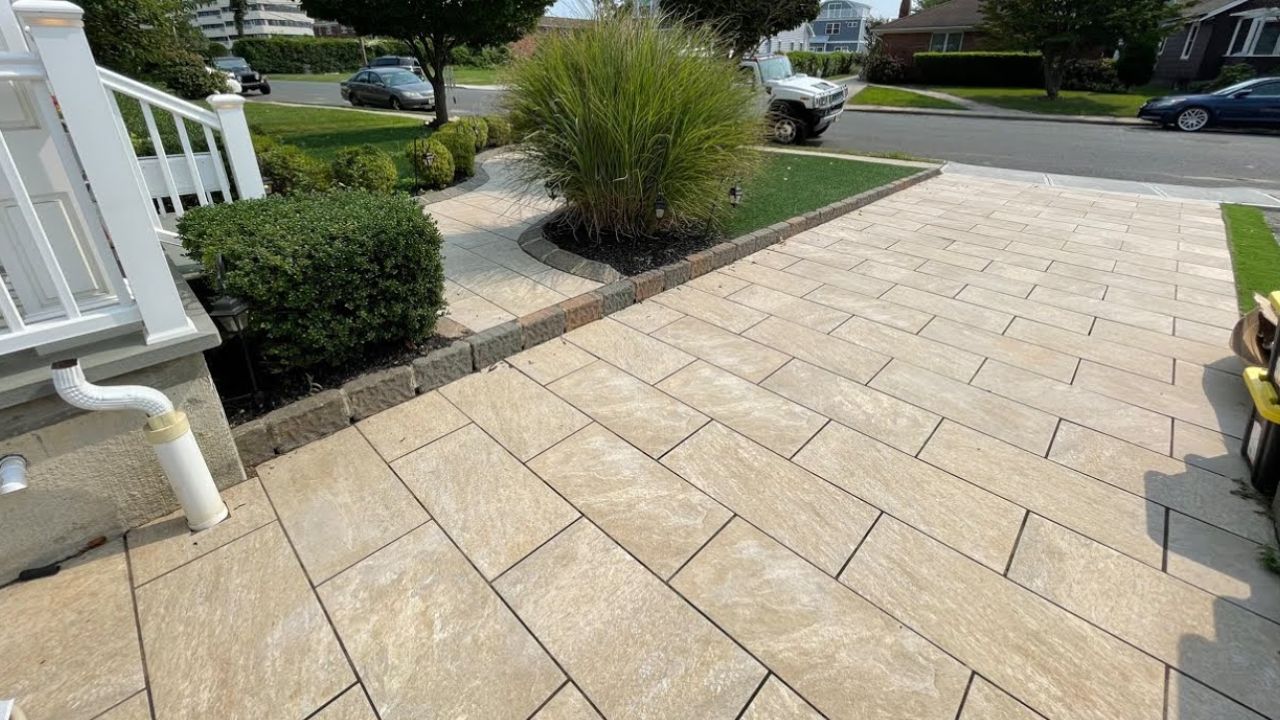
Now the surface should be leveled to install the pavers by yourself. You can use the level tool to ensure the surface level is even. Read also our guide on how to install pavers.
Begin Laying Pavers
Step 6 of how to level ground for pavers:
Once you are satisfied with the surface, you should install your desired pavers. Start by knowing how to lay pavers and use a level to ensure each paver looks even with the previous one. If a paver seems high, use a rubber mallet to gently tap it down. You can also add sand beneath. Take your time to create a smooth, even surface.
Pour jointing sand over the surface once all pavers are set. Sweep it into the gaps to lock the pavers in place so they will not shift away and prevent weed growth. Finally, compact the surface to settle the sand firmly in the joints, then sweep away any remaining sand for a clean finish.
Tips For Longevity Of Level Ground For Pavers
1. Regularly check for weeds and debris:
This usually happens with outdoor pavers. Using polymer sand is recommended to avoid the growth of weeds under the pavers. Also, regular paver cleaning will help maintain the pavers’ look for years to come. Sweep away debris and remove any weeds that may appear in the joints.
2. Reapply joint sand if needed:
The sand may settle or wash away over time. You can add more joint sand and compact it to keep the pavers secure and prevent them from moving from their space.
3. Stay on top of drainage:
Ensure your slope remains adequate to drain water away. If you notice pooling, check for low spots and adjust as needed to prevent long-term damage.

Wrapping It Up
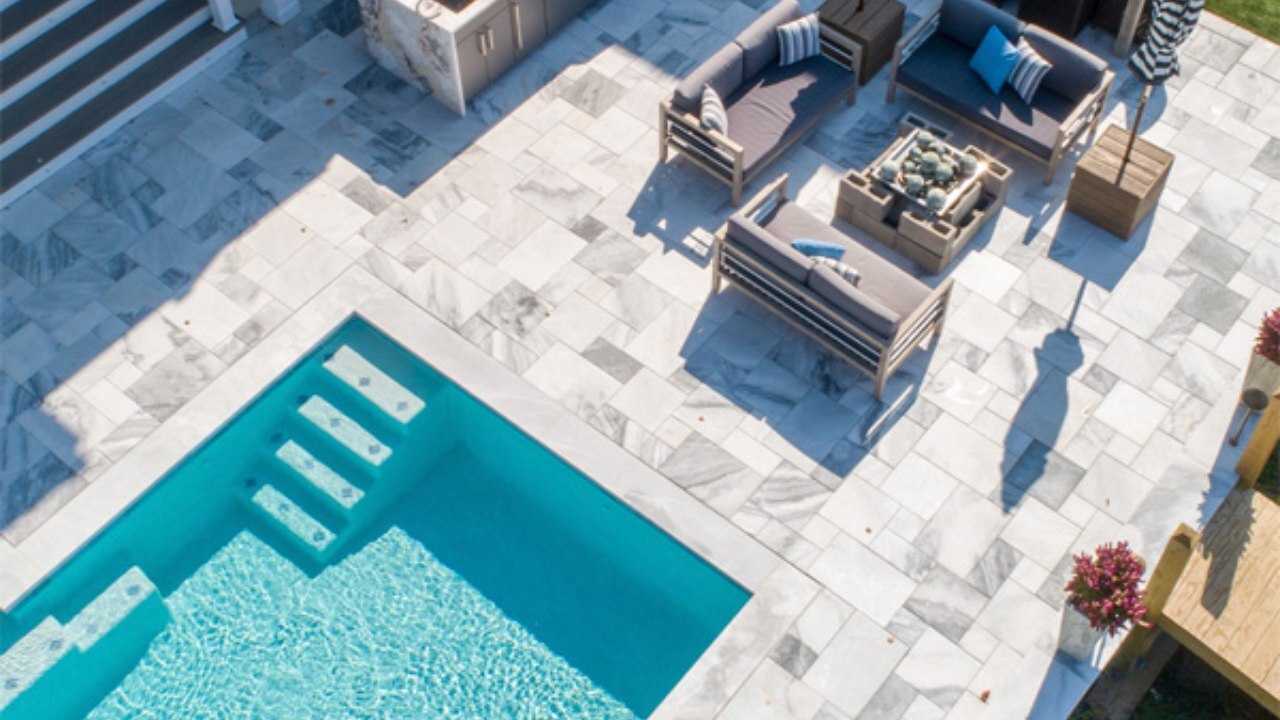
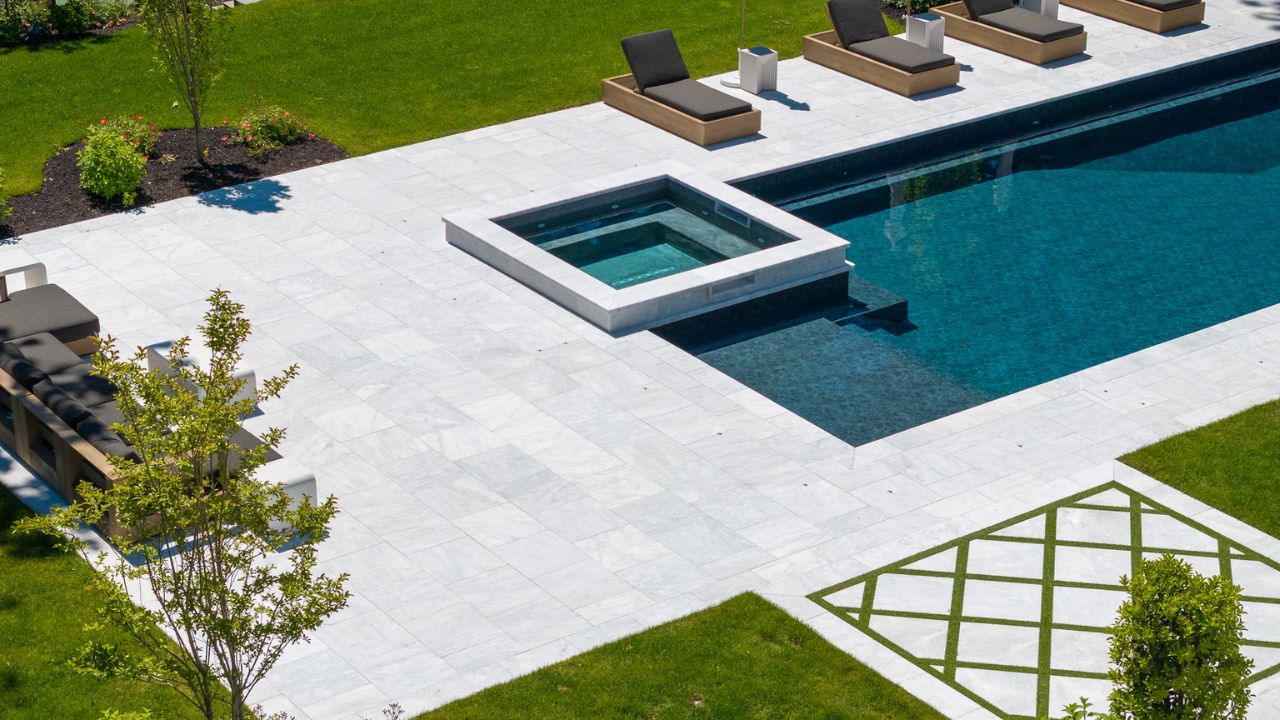
Now you have the idea regarding how to level the ground for pavers. An even level ground is crucial for pavers to stay in their place and provide a comfortable and functional space. In this guide, we include the best and most useful information to create a level surface for pavers. However, this may seem daunting at first, but if done right, it will be a rewarding project. It will make a huge impact on your outdoor space.
By following these steps, you’ll create a stable, long-lasting level ground for pavers that will enhance the appearance and functionality of your yard. Take your time with each step, and enjoy the satisfaction of a well-prepared, professional-looking DIY paver installation.