Creating a durable and stable paver base is easy if you know how. The pavers won’t shift or move over time if the surface is stable. The right material and precision are sometimes needed to build a paver base. The task of creating the right paver base may seem overwhelming, but we’ll show you how to build a paver base effectively in this post. Here’s what you need to know.
Materials Needed
Before you begin, gather the following materials:
- Sub-Base Material: (This is generally crushed stone or gravel)
- Base Material: (Coarse sand such as concrete sand)
- Geotextile Fabric
- Edging Restraints
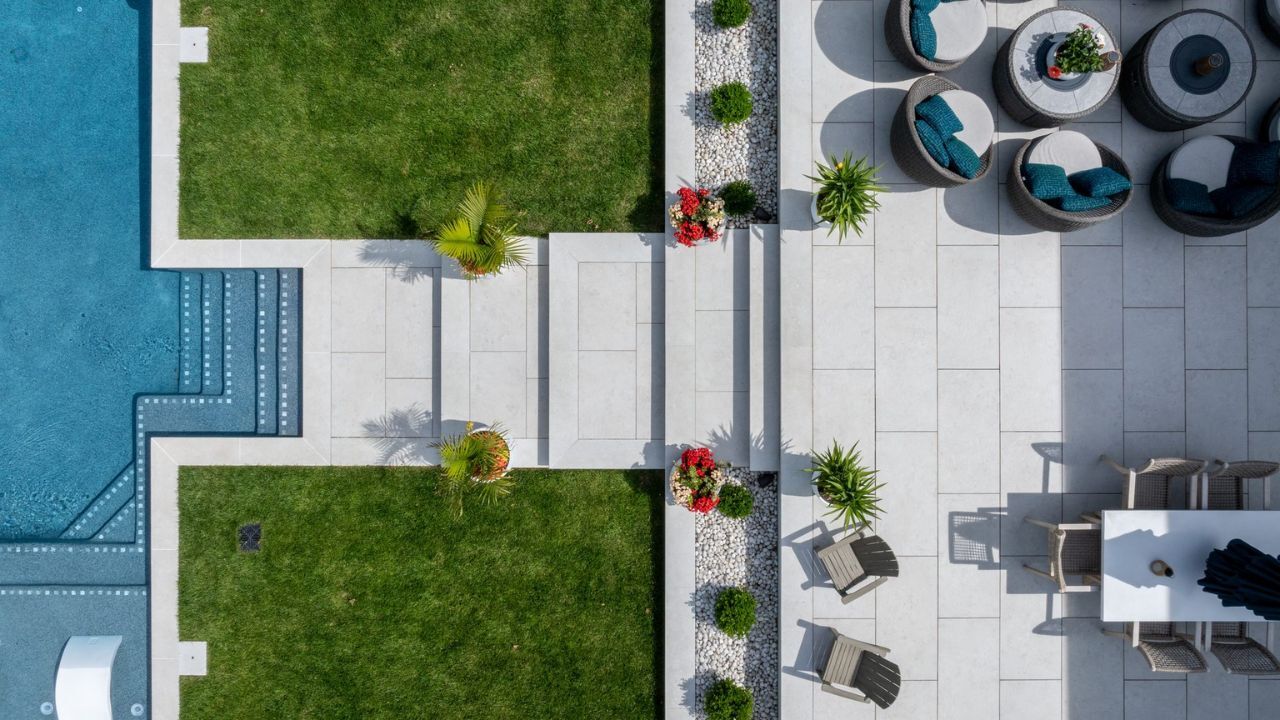
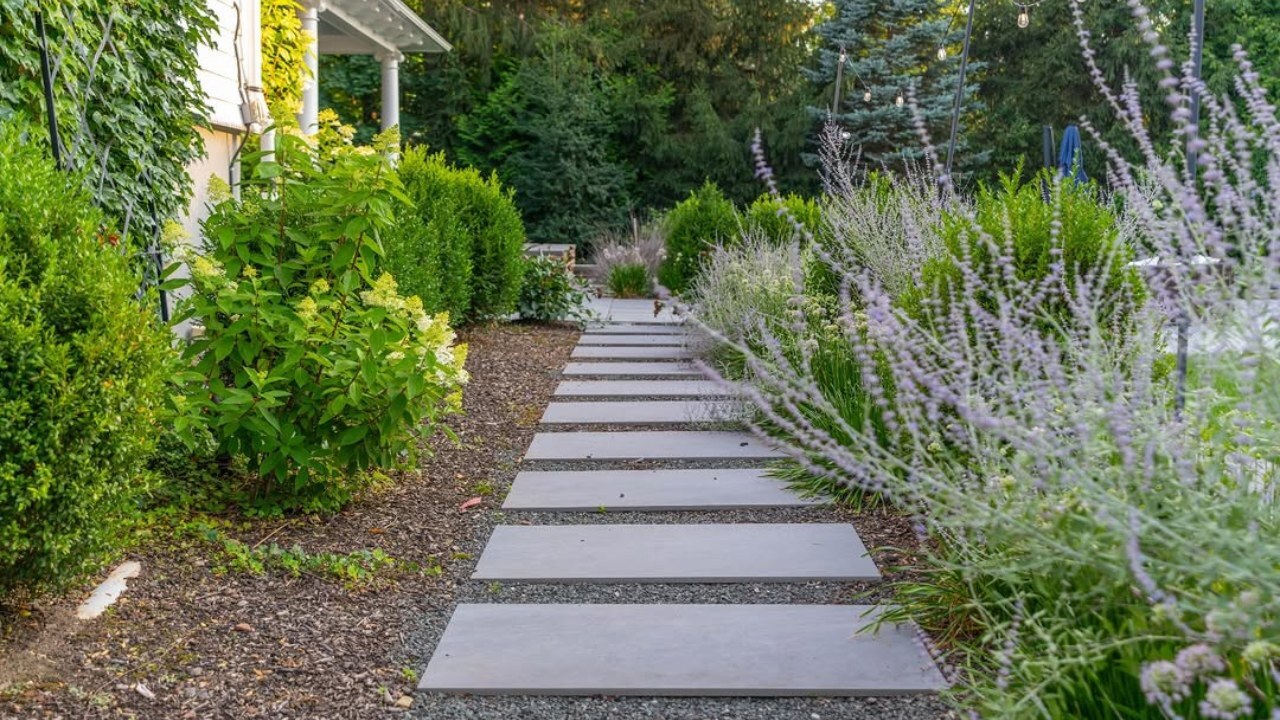
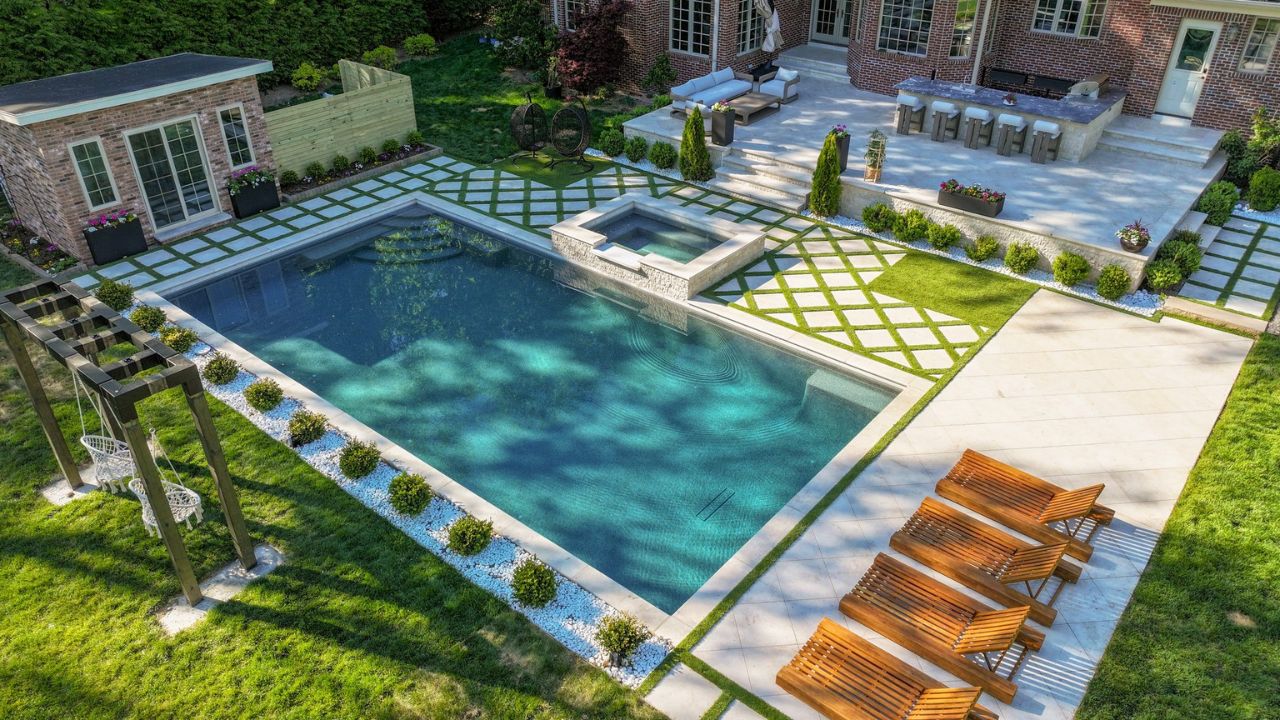
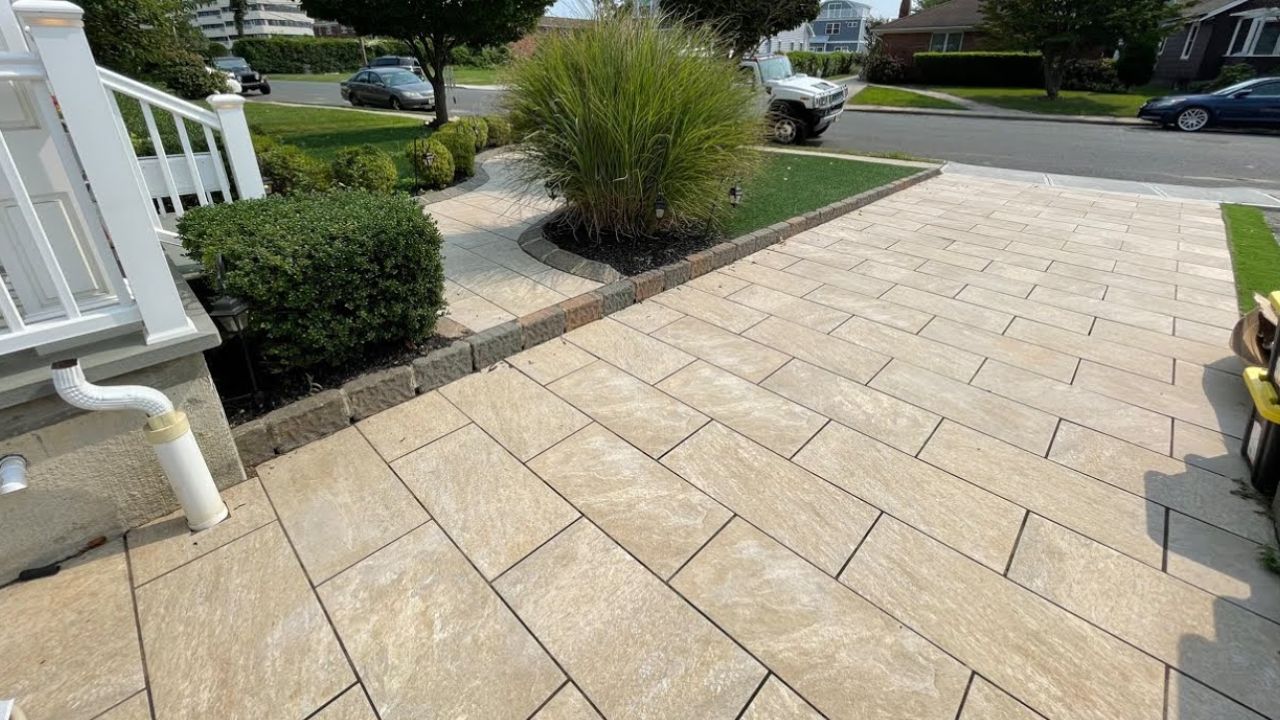
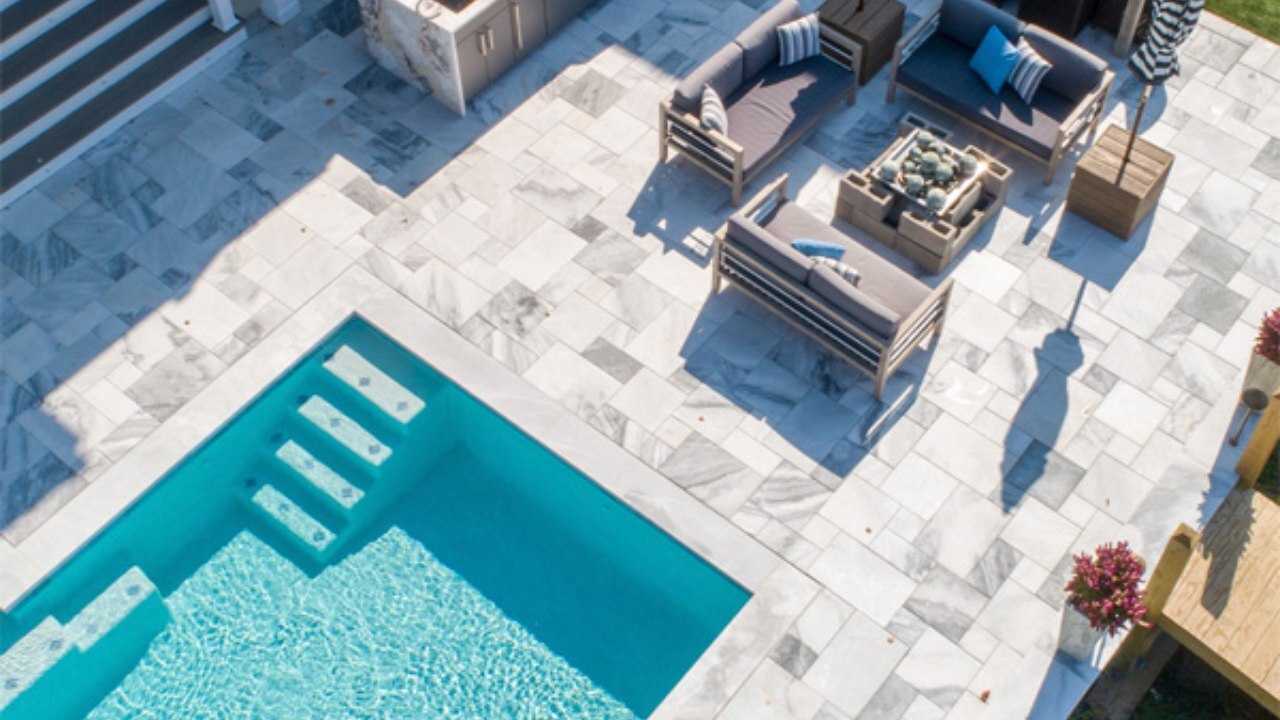
- Pavers: (Your choice of paving stones or porcelain pavers)
- Polymeric Sand: (For filling joints between pavers)
Tools Required
- Shovel
- Rake
- Plate Compactor or Hand Tamper
- Level
- Measuring Tape
- Screed Board (a straight 2×4 works well)
- Rubber Mallet

Choosing the right paving material
The table below outlines commonly used paver base materials and their ideal climates:
| Material | Climate |
| Crushed Stone/ Gravel + Road Base (Aggregate) | Cold Climates with Frost/Freezing Cycles |
| Crushed Stone/ Gravel + Decomposed Granite | Wet/High Rainfall Climates |
| Crushed Concrete + Limestone Screenings | Dry Climates |
| Sand + Decomposed Granite | Hot and Arid Climates |
| Limestone Screening + Crushed Stone/ Gravel | Warm, Humid Climates |
Selecting the appropriate material based on your climate will ensure the longevity and effectiveness of your paver base.
Step-by-Step Guide on How to Build a Paver Base
Now let’s start building the paver base.
Planning and Layout
Step 1 of How to Build a Paver Base
The first step is to plan out where you want to start building the paver base. You should outline the area where you want to install the pavers. Mark with the paint or stake the area with string to create the boundaries. Calculate the amount of materials required by mearing the area.
Excavation
Step 2 of How to Build a Paver Base
Next, dig the area to the required depth which depends on how deep you want to create a paver base. It should however accommodate the sub-base, base paver thickness, and sand bedding. If you are working in pedestrian areas then a total depth of 8-10 inches is enough. For driveways, 12 to 14 inches is recommended. Make sure to add a slight slop around 1/8 inch per foot away from the structure to leave space for better drainage.
Sub-Base Installation
Step 3 of How to Build a Paver Base
Lay the geotextile fabric over the area you dug out. This will assure you a no mix of soil with the sub-base and prevent weed growth. Add crushed stone or gravel around 4-6 inches. Compact the sub-base material thoroughly with a plate compactor for more stability.
Base Installation
Step 4 of How to Build a Paver Base
Spread around 1-2 inches of coarse sand over the compacted sub-base. You can create a smooth surface by using a screed board to level the sand. Mist the sand lightly with water and compact it so it won’t settle in the future.
Edging Installation
Step 5 of How to Build a Paver Base
Now install the edging along the perimeter so it will hold the pavers in place and maintain the structure integrity.
Paver Placement
Step 6 of How to Build a Paver Base
Start laying the pavers in your desired pattern. Start from a corner and work outward. You should maintain consistent joint spacing as it will create an aesthetically pleasing look for your floor. Make sure that the level is evenly placed and adjust it with a rubber mallet where it is required.
Joint Filling
Step 7 of How to Build a Paver Base
Once you have placed all the pavers in their place, spread the polymeric sand over the surface and sweep into the joints. Activate the sand by misting it with a little water. The sand will get harden and lock the pavers in place.
Final Compaction
Step 8 of How to Build a Paver Base
Once all steps are completed perform a final pass with a plate compactor. This will set the pavers and ensure you a stable platform for longer.

Common Mistakes to Avoid While Building Paver Base
Now you will have the idea about how to build a paver base. But there are some considerations as well that you should have in mind. These are some common mistakes that can easily harm the ending results.
Insufficient Excavation
First of all, have enough information while digging the marked space. If you didn’t dig deeper enough it may not accommodate the thickness of the pavers. This will also cause an insatiable surface.
Poor Compaction
Compact properly. If you fail to compact each layer properly then you will end up having an uneven surface.
Skipping Geotextile Fabric
Leaving this layer out can allow soil and base materials to mix, compromising the foundation.
Maintenance Tips
Regular Cleaning
Keep the surface free of debris as it will prevent staining and weed growth.
Joint Sand Replenishment
Regularly check and refill joint sand to maintain stability.
Sealant Application
You can protect pavers from the elements and improve their appearance by sealing pavers.
Bottom Line
In this post, we discussed the easiest way to create the paver base. If you are already searching for how to build a paver base then this post is your answer. Make sure to follow these steps and avoid common mistakes. Focus on creating a table paver base as it will help the pavers to stay in their palace for longer. Get your pavers from a professional porcelain pavers supplier like NT Pavers for the best experience.

FAQs on How to Build a Paver Base?
1- What is the recommended base for installing porcelain pavers?
You will need a layer of crushed stone that is well compacted or gravel for porcelain pavers. This base will provide you a better stability and offer better drainage. You will be assured of having a lasting installation.
2- Can porcelain pavers be installed over existing concrete surfaces?
Yes, porcelain pavers can be installed over existing concrete paving slabs. This method is best suited when concrete is in good shape and offers proper drainage.
3- How important is compaction when preparing the base for porcelain pavers?
Compaction is a crucial step in creating a paver base. A well-compacted paver base will prevent paver shifting and displacement over time. This will also maintain the structural integrity.
4. Are there specific considerations for installing porcelain pavers in areas with freeze-thaw cycles?
If you are living with the freezing-thaw cycles then you should opt for proper drainage. You should also use specific base material that can withstand such conditions. This will prevent uneven surfaces and displacement of the pavers.
5- How does the choice of base material affect the longevity of porcelain paver installations?
Base materials determine how well the porcelain paver installation will support, drain, and resist environmental factors, affecting the durability and lifespan.
6- What is the best base for porcelain pavers: concrete or sand?
Both sand and concrete bases have their pros and cons depending on your project requirements.
- Concrete Base: This is perfect for areas that need to carry a lot of weight, like driveways or heavily trafficked areas. If you live in a freeze-thaw climate, it’s great for porcelain pavers.
- Sand Base: It is best suited for smaller patios or walkways in areas with mild climates. It offers easier installation but requires proper compaction and edging to prevent shifting.