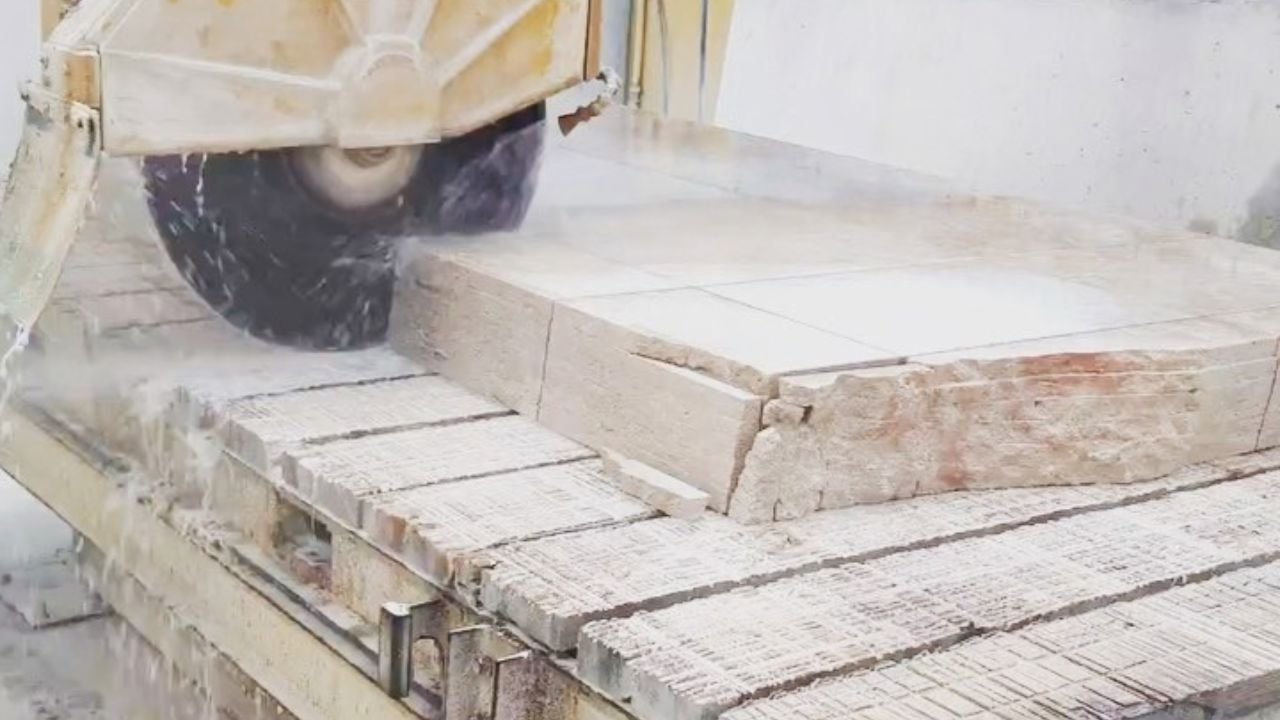

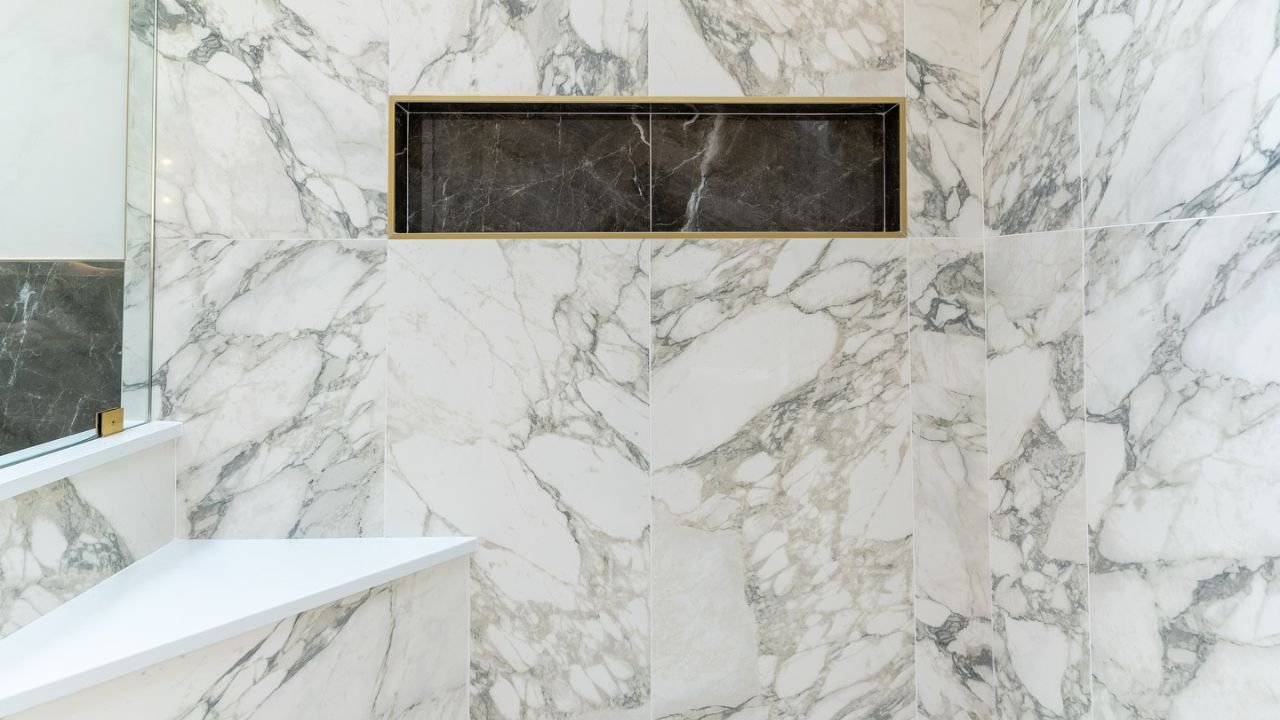
Bathroom wall tiles are not just about adding aesthetics to the area, but they also add stability and durability to the space. A bathroom wall can change the feel of the entire room, but good tile work starts long before the first tile reaches the wall. The substrate, waterproofing, layout, mortar, cuts, grout joints, and movement joints all affect the finished result. For homeowners, the goal is not to work faster. It is to build a wall that stays flat, secure, water-managed, and easy to maintain. Whether you choose porcelain, ceramic, marble, travertine, or another natural stone, the installation method must suit both the tile and the wall assembly. Current tile installation standards continue to emphasize the importance of a stable, properly prepared substrate. So here is our step-by-step guide to installing bathroom wall tile with the best results.
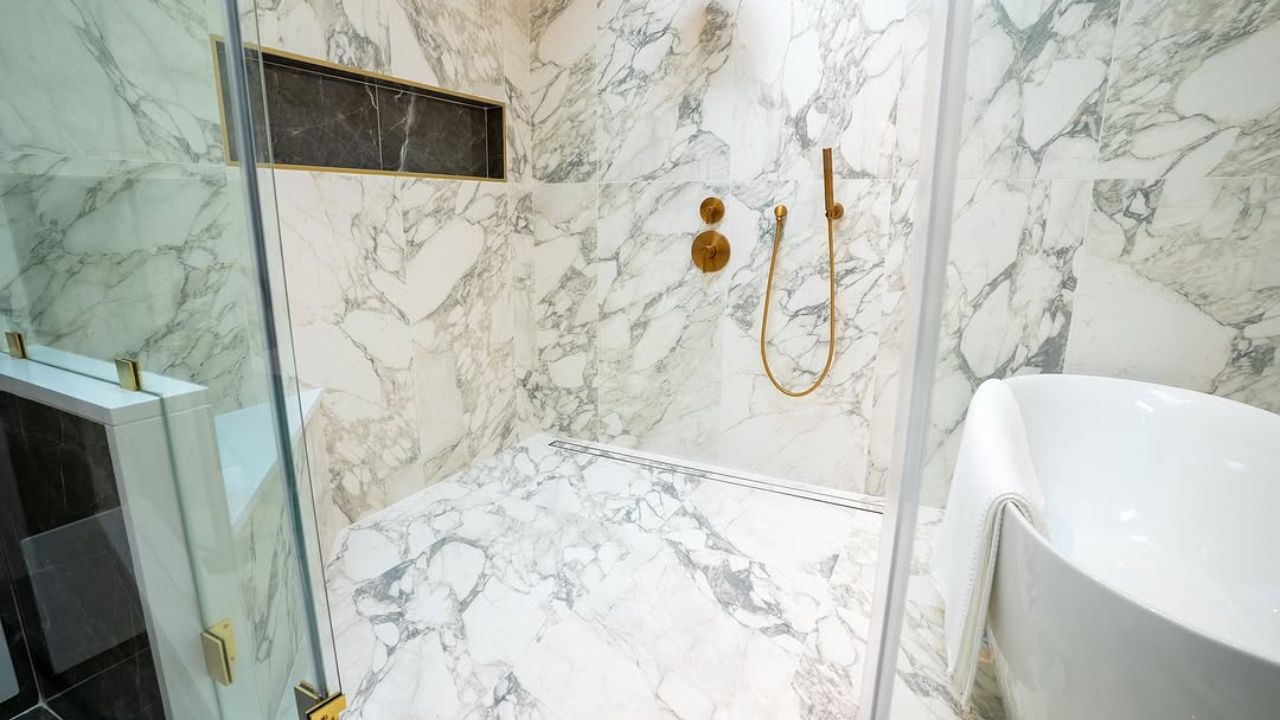
What Do You Need to Tile a Bathroom Wall?
Before you start tiling a bathroom wall, you need a bunch of specific materials and tools. These will help you install and finish the project effectively.
| Materials | Tools |
| Bathroom wall tiles | Notched trowel |
| Thin-set mortar or suitable tile adhesive | Level |
| Waterproofing membrane for wet areas | Measuring tape |
| Tile backer or approved wall substrate | Pencil |
| Tile spacers | Tile cutter or wet saw |
| Grout | Hole saw for plumbing penetrations |
| Grout sealer, if required | Rubber grout float |
| Silicone sealant | Grout sponge |
| Mixing bucket | |
| Drill with mixing paddle. | |
| Tile leveling system, if appropriate | |
| Safety glasses and gloves |
Inspect and Prepare the Wall
Step 1 of how to tile a bathroom wall is wall inspection. Start by examining the wall. Make sure that the wall is flat, sound, clean, and suitable for tile installation.
- Remove loose paint, wallpaper, old adhesive, any damaged tile, and residue. Remove any other material that could interfere with bonding.
- Suppose you find any repair holes and cracks. Correct any major uneven areas before you begin tiling.
- Pay attention to the substrate because tile follows the surface beneath it. If the wall bows or dips, the finished tile can show those problems through uneven joints and lippage.
- For a bathroom outside the direct wet zone, the correct substrate may differ from the substrate required inside a shower. In a shower or tub surround, use a suitable waterproofing assembly. Don’t assume the ordinary drywall and grout will protect the wall.
ANSI’s current A108/A118/A136.1 installation standards emphasize the role of a stable and properly prepared backing material.
Waterproof the Wet Areas
Step 2 of how to tile a bathroom wall is installing waterproofing. This step separates a decorative bathroom wall from a properly built wet-area installation.
- When tiling in a shower, around a tub, or in other areas that receive regular water exposure, install a waterproofing system designed for that application.
- Depending on the system, this can involve a waterproof backer board and a sheet-applied waterproofing membrane, or a compatible shower waterproofing system. Follow the system manufacturer’s installation instructions. Seal seams, corners, penetrations, and transitions as required.
- Opt for a cement board, as it may resist water, but water resistance doesn’t automatically mean waterproofing. Some shower assemblies use a membrane over the backer board to create the waterproof layer behind the tile.
- For instance, a bonded waterproofing system places the waterproof layer behind the tile. Products like Schluter KERDI are designed with this approach. It treats the seams, corners, connections, and movement joints specifically.
- Tile, grout, and caulk should not be your only line of defense against water.
Plan the Tile Layout Before Applying Mortar
Step 3 of how to tile a bathroom wall is to plan the tile layout. This is the part where many DIY tile installations fail.
- Start by measuring the wall and then calculating how the bathroom wall tile and shower wall panels will fit across the entire surface. Do not focus only on the first tile but look at the last tile too.
- If starting with a full tile leaves a 1-inch strip at the opposite corner, shift the layout. A balanced layout typically looks much better than the one that starts perfectly but ends with a tiny sliver.
- Plan around the shower niches, windows, faucets, shower valves, electrical outlets, vanity backsplashes, doors, corners, decorative borders, and plumbing pipes.
Dry Layout Approach
This method will help you visualize the entire wall design better.
- Place several tiles without mortar. Check the pattern, joint spacing, cuts, and alignment. This is especially important with marble and other natural stones because veining and color variation can affect the visual balance of the wall.
- Inspect the individual pieces before installation in case of natural stone tiles. It is generally not uniform, and you may want to decide where particular pieces should go.
Establish a Level Starting Line
Step 4 of how to tile a bathroom wall is establishing a starting line. Don’t just assume that the bathroom floor is perfectly level.
- Use a spirit level or laser level to establish a horizontal reference line.
- Install a temporary ledger board at the proper height if the floor is uneven. The board supports the first course while you build the main field of tile.
- You can return later and install the bottom row with cuts that follow the floor.
This approach gives you more control over the visible tile courses. A small error in the first row can move upward. A level reference gives every later row a reliable starting point.
Cut and Dry-Fit the Tiles
Step 5 of how to tile a bathroom wall is to cut tile and dry-fit it.
- Start by measuring each cut carefully.
- Use a manual tile cutter for suitable straight cuts. You can also cut tile without a wet saw using the right tool for the tile material and the cut required.
- Don’t forget to focus on the grout joint during bathroom wall tile installation. If a tile needs to finish against a corner, the cut should not be made to fit tightly against the adjoining surface.
- The installation needs an appropriate joint that can accommodate movement and receive the correct sealant.
- Before applying mortar, place difficult pieces in position and check them.
- A few minutes spent dry-fitting a tile can save an hour of removing a bad cut.
Apply the Correct Thin-Set Mortar
Step 6 of how to tile a bathroom wall is to apply the correct thinset mortar.
- Start by combining the mortar according to the manufacturer’s instructions.
- Use the correct notched trowel to spread it over a manageable section of wall.
- Keep the trowel angle consistent. The goal is to create uniform mortar ridges that collapse when the tile is pressed into place.
- Don’t spread mortar over more wall than you can cover before it begins to skin over.
- For larger tiles, proper mortar coverage becomes even more important. Back-buttering may be appropriate depending on the tile, mortar, substrate, and installation requirements.
The right mortar type also matters. A large-format porcelain tile may require a different setting approach from a small ceramic tile or moisture-sensitive natural stone.
Set the Bathroom Wall Tiles
Step 7 of how to tile a bathroom wall is setting bathroom wall tiles.
- Press each tile into the mortar.
- Use a slight sliding motion to help collapse the mortar ridges and establish contact.
- Insert spacers between tiles to maintain consistent joints.
- Check the surface with your level as you work.
- Do not wait until the entire wall is finished.
Check after several tiles. Then check again after another row.
The Right Leveling System
Large-format tiles can take advantage of leveling clips or similar systems. They can help reduce the lippage between nearest tiles, but they cannot correct a badly prepared wall.
A leveling system is a finishing aid, not a substitute for a flat substrate.
Pay Extra Attention to Corners and Fixtures
Bathroom walls are more interrupted than most tiled surfaces. You will have to work around shower controls, showerheads, pipes, outlets, niches, windows, mirrors, and vanity plumbing.
- Measure these locations before setting the surrounding tiles.
- For pipe penetrations, make the opening large enough for the fitting and the required sealant joint. Avoid forcing a tile tightly against a pipe.
- If you are installing a shower niche, plan its dimensions around the tile layout before construction.
A niche designed after the tile pattern can create unnecessarily narrow cuts.
Where to Use Flexible Sealant
Use flexible sealant instead of rigid grout where movement can occur, including:
- Inside corners
- Wall-to-floor transitions
- Changes in plane
- Around fixture penetrations
Do not force tile tightly against pipes or other fixtures. Follow the tile system and sealant manufacturer’s instructions for the appropriate joint and sealant.
Plan for future fixtures
Heavy fixtures such as grab bars, wall-mounted toilets, and similar items require proper structural support behind the finished wall. Waterproofing systems also have specific requirements for penetrations.
Let the Tile Installation Cure
- Once the tiles are installed, leave them alone for the time specified by the mortar manufacturer.
- Do not begin grouting simply because the tile feels secure.
- Temperature, humidity, tile size, substrate, mortar type, and installation conditions can affect curing.
- The manufacturer’s instructions control the actual cure time.
This is one area where patience saves work. Moving tiles too soon can disturb alignment and weaken the bond.
Grout the Bathroom Wall
Once the mortar has cured, remove the spacers and clean the joints.
- Mix the grout according to its instructions.
- Opt for a rubber float to force grout into the joints. Hold the float at an angle and work throughout the tile surface.
- Remove excess grout before it hardens.
- Use a damp sponge to clean the tile face without pulling grout out of the joints. Once the grout has fully cured, use a suitable grout cleaner to remove stains and buildup when needed.
Some grouts require sealing after installation. Others are designed to resist staining without a separate sealer. Follow the grout manufacturer’s instructions rather than assuming every grout needs sealing.
Common Bathroom Wall Tiling Mistakes
- Tiling over an uneven or damaged substrate
- Skipping waterproofing in wet areas
- Starting from an unlevel floor
- Using the wrong mortar
- Applying mortar over too large an area
- Creating tiny tile slivers at corners
- Forgetting movement joints
- Grouting joints that should receive flexible sealant
- Installing heavy fixtures without proper support
How Much Bathroom Wall Tile Do You Need?
Measure each wall’s width × height and add the areas together. Subtract large openings such as doors and windows if they will not be tiled.
Example: If a wall is 8 feet wide and 7 feet high, the area is 56 square feet (8 × 7). If all the walls total 120 square feet, order extra tile to allow for cuts, breakage, and future repairs. The amount of extra tile needed depends on the bathroom tile sizes, layout, and number of cuts.
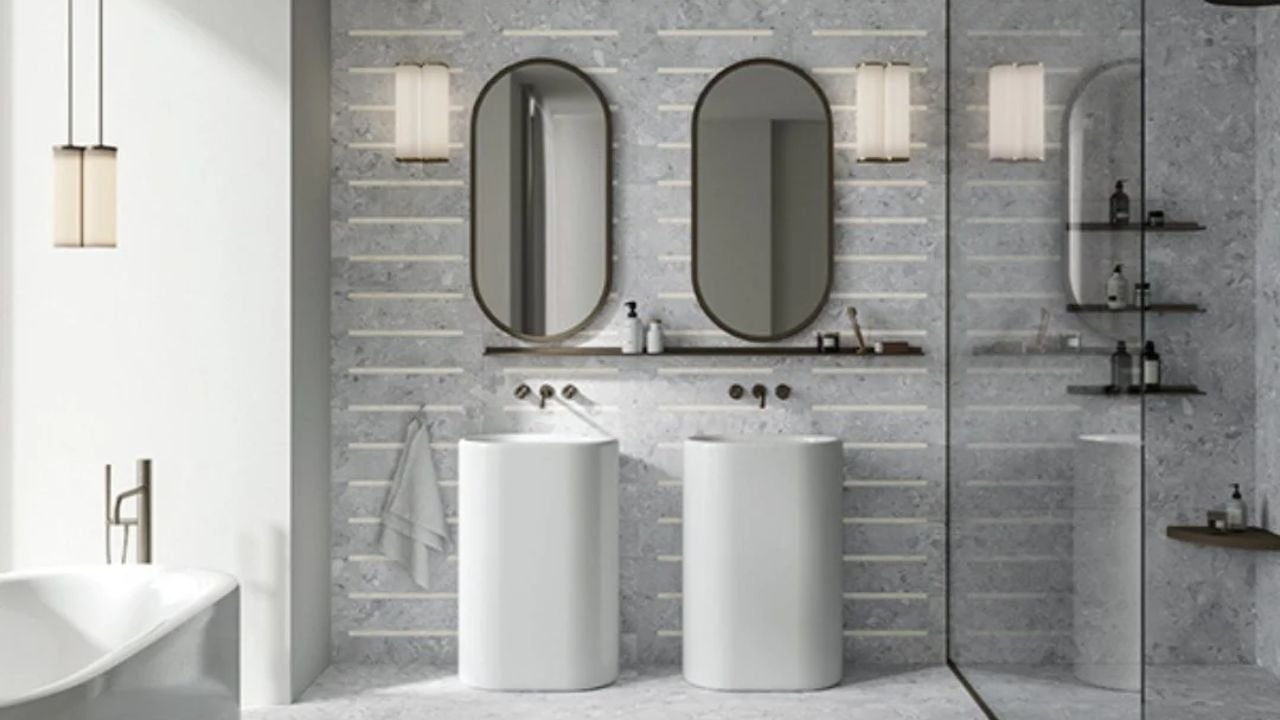
Which Bathroom Wall Tile (Porcelain, Travertine, Marble, and Limestone) Is Easiest to Install?
For homeowners choosing the best tile for bathroom walls, the material affects cutting, handling, substrate requirements, mortar selection, and maintenance.
| Natural Stone / Tile | Installation Complexity | Explanation |
| Ceramic tile | Low–Moderate | Relatively easy to cut and handle; many sizes and installation systems are available |
| Porcelain tile | Moderate | Dense material can require better cutting equipment and careful mortar coverage |
| Marble | Moderate–High | Requires careful handling, cutting, layout, and material-specific setting considerations |
| Travertine | Moderate–High | Natural variation, surface characteristics, and sealing needs can add work |
| Limestone | Moderate–High | Softer stone can require careful cutting and appropriate setting and sealing |
| Slate | Moderate–High | Thickness and surface variation can make alignment and cleaning more demanding |
FAQs About Tiling Bathroom Walls
Let’s talk about tiling the bathroom walls.
Can you tile directly over drywall?
Yes. Tiles may be installed over appropriate drywall when the complete system supports it. Don’t treat standard drywall as a complete waterproofing solution inside a shower.
Should bathroom walls be waterproofed before tiling?
Wet areas such as showers and tub surrounds need an appropriate waterproofing system behind the tile. The exact method depends on the wall assembly and waterproofing system.
Should you tile the bathroom wall or floor first?
There is no universal rule. For many installations, the wall tile is planned so the bottom course can meet the finished floor cleanly, but the correct sequence depends on the entire bathroom assembly.
What size tile is best for bathroom walls?
There is no single ideal size. Large-format tiles reduce grout lines, while smaller tiles can work better around niches, corners, and complicated layouts.
Can you tile over existing bathroom wall tile?
Yes, you can tile over existing bathroom wall tile if the old tiles are firmly attached, clean, dry, and free from cracks or movement. The surface should be properly prepared before installing new tile.
How much tile do I need for a bathroom wall?
Measure each wall’s width × height, add the areas together, and subtract large openings such as doors or windows. Add 10–15% extra for cuts, breakage, and future repairs. For example, if your walls total 100 sq. ft., buy about 110–115 sq. ft. of tile.
Do bathroom wall tiles need grout?
Yes, most bathroom wall tiles need grout between them. Grout fills the joints, helps prevent moisture and debris from getting into the gaps, and gives the installation a finished appearance.
What type of mortar should I use for bathroom wall tile?
Use a thin-set mortar rated for wall tile and your specific tile type. For wet areas, choose a mortar suitable for bathroom and shower installations and follow the tile and mortar manufacturer’s instructions.
Where should I start when tiling a bathroom wall?
Start from a level reference line, usually near the bottom of the wall, rather than directly from the floor. This helps keep the tile layout straight and allows you to adjust for an uneven floor.
Should corners be grouted or caulked?
Bathroom wall corners should generally be caulked rather than grouted. Flexible, mold-resistant bathroom caulk allows the corners to accommodate movement and helps prevent cracking.
Bottom Line
Learning how to tile a bathroom wall can be a rewarding experience for any homeowner. As DIY home upgrades are gaining popularity, the tile installation process on your own can be exciting. Just make sure to do your research regarding the use of tools and material types, as not every material is easy to install through a DIY approach. Also, following the manufacturer’s guidelines regarding sealing, grouting, and adding adhesive matters a lot. If this is your first time doing bathroom wall tile, do consider contacting professionals for a better idea.