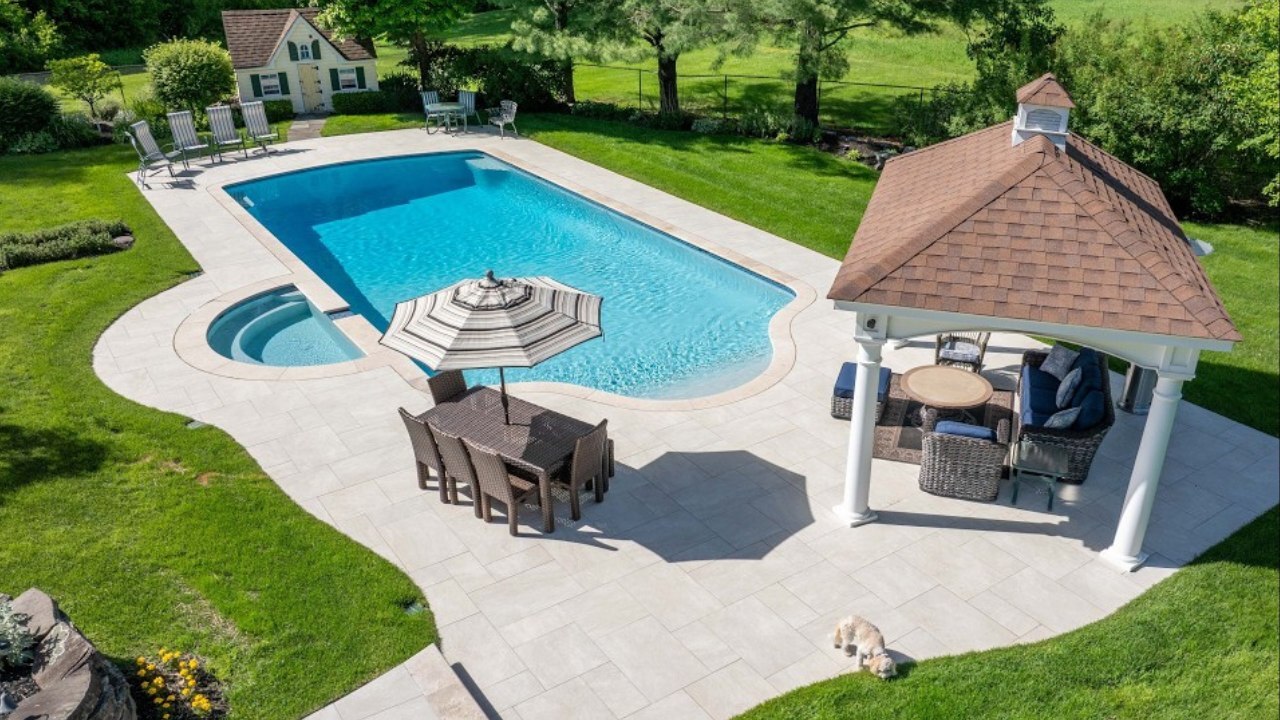
The edge of the pool is one of the most important parts of the pool’s safety, durability, and appearance. This edge is the pool coping. It creates the protective cap that covers the bond beam and creates a seamless transition between the surrounding deck and pool shell.
Though professional installation is recommended for proper installation, many DIY enthusiasts can install pool coping successfully. However, it just requires the right preparation and materials. Proper compilation protects the pool structure from water damage. It also improves drainage and creates a comfortable edge for gripping or sitting while swimming.
Installation is the same regardless of the material. The installation process is based on the base preparation, alignment, and bonding strength. This guide will explain each step so that homeowners can install pool coping confidently.
What Tools and Materials Do You Need To Install Pool Coping?
A successful installation depends on good preparation. Gather tools before starting the project.
Common tools include:
- Tape measure
- Level
- Masonry saw or wet saw
- Rubber mallet
- Trowel
- Mortar mixing bucket
- Tile spacers
- Safety gloves and eye protection
Materials often include:
- Coping stones or porcelain coping pieces
- Thin-set mortar or masonry adhesive
- Joint filler or grout
- Waterproof sealant
If you are planning to create a custom layout, then custom pool coping pieces will require a fully precise cut. A wet saw will help you get those smooth edges.
How to Install Pool Coping? (7-Step Guide)
Here is our simple step-by-step guide for installing pool coping.
Step 1: Plan the Layout
Step 1 of how to install pool coping is the precise layout planning. This will help you determine what the outcome would be.
- Start with a dry layout,
- Place the pool coping stones around the pool edge without applying mortar for now.
- This step is important to understand coping pieces spacing, alignment, and identify pieces that require cutting.
- Take care of the corners and curved areas.
- This stage prevents mistakes once the adhesive is applied.
Step 2: Mix the Mortar
Step 2 of how to install pool coping is mixing the mortar.
- Start by preparing masonry mortar or thin-set adhesive according to the manufacturer’s instructions.
- Make sure the mixture is holding its shape, but still not so hard that it’s easy to apply.
- Spread a thin layer on the bind beam with a notched trowel
- First, apply to the small sections at a time. Mortar may dry quickly under the direct sun and wind, so create and work accordingly.
Step 3: Set the Coping Stones
Step 3 of how to install pool coping is setting the coping stones.
- Place the coping stone onto the mortar bed.
- Press the piece firmly into the selected place and tap gently with a rubber mallet to place them precisely.
- Use a level to confirm that the stone sits flat.
- Keep the joint space between pieces consistent.
- DIY installers usually use tile spacers to keep uniform gaps.

Step 4: Maintain Proper Overhang
Step 4 of how to install pool coping is maintaining the proper overhang.
Pool copings are often found extended slightly over the pool wall, as this overhang keeps the water away from the structure. It also improves the comfort for swimmers.
Generally, the overhang ranges from:
- 1 to 2 inches.
- Keep an eye on the alignment frequently as you move around the pool.
Step 5: Cut Pieces for Corners and Curves
Step 5 of how to install pool coping is cutting pieces for curves and corners.
Some pools feature perfectly straight edges, but when it comes to curves and corners, they require careful cutting.
Trim the coping stones by using a wet saw with a diamond blade to trim coping stones.
Many installers choose Bullnose Pool Coping for curved pools as the rounded edge flows smoothly around the shape.
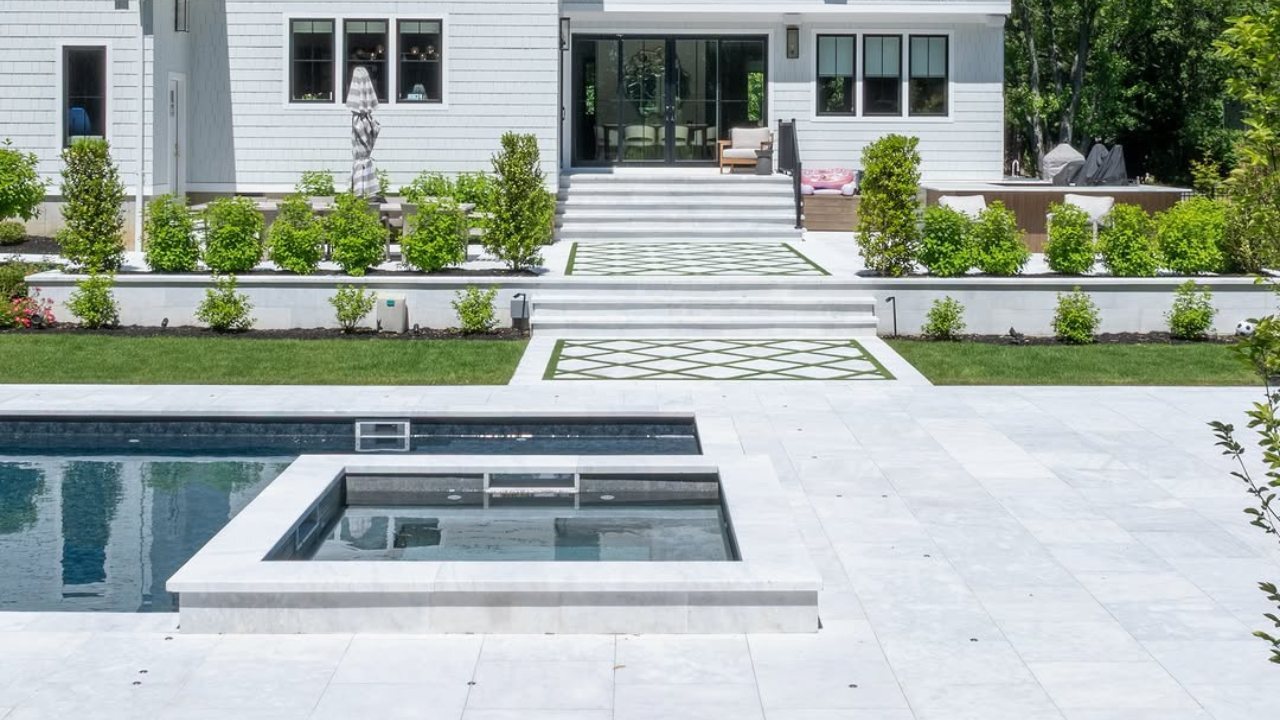
Squared Edge Pool Coping works best in geometric pool designs with sharp corners.
Step 6: Fill the Joints
Step 6 of how to install pool coping and fill the joints.
- Once the coping stones are set firmly, fill the joints with grout or joint mortar.
- Apply the material to the gaps using a grout float or trowel.
- Clean the excess mortar quickly with a damp sponge.
- Allow proper curing time before exposing the pool area to water.
Step 7: Seal the Coping Surface
Step 7 of how to install pool coping is sealing the coping stone.
Sealing secures the coping from moisture damage and salt. Sealers protect the surface from:
- chlorine exposure
- saltwater systems
- sunscreen oils
- water absorption
Porcelain pool coping usually doesn’t require sealing, but it is always recommended to follow the manufacturer’s guidance. Many installers also seal the joint lines for additional protection.
Does Pool Coping Installation Change Based on Material?
When installing pool coping through a DIY approach, it is often asked if the installation methods change according to the material. The short answer is no. Though most pool coping installation materials follow the same basic, bonding methods and precision requirements vary slightly depending on the coping material.
Natural Stone Pool Coping Installation
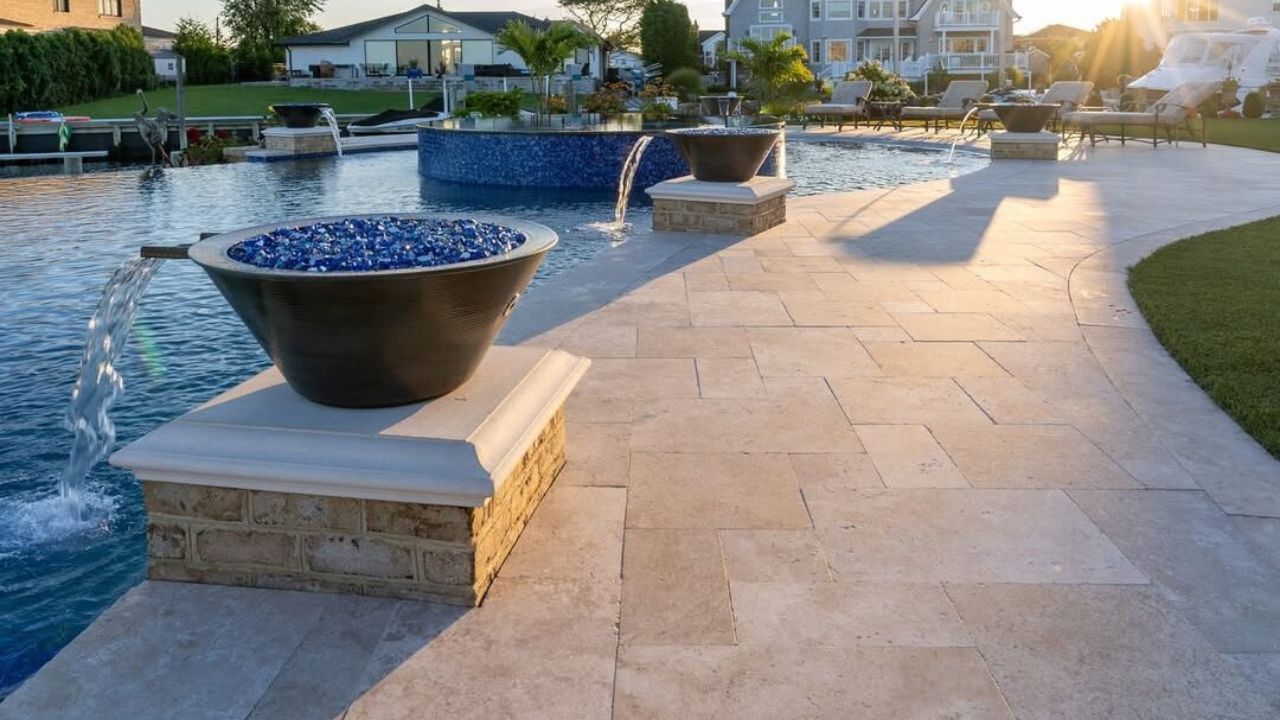
Natural stone coping, including travertine pool coping, marble pool coping, and limestone pool coping, is usually installed with a mortar bed. Mortar is well-suited to natural stone pavers because the material has small pores that help the mortar bond securely. Typical process includes:
- Applying a mortar layer on the bond beam
- Pressing the coping stone into the mortar
- Adjusting alignment with a rubber mallet
- Filling joints with grout or mortar
- Sealing the surface after curing
This method allows small adjustments during installation, which makes natural stone coping more forgiving for DIY installers.

Porcelain Pool Coping Installation
Porcelain pool coping requires a slightly different binding method. This is due to its extreme density and absorption of little water. Installers normally use polymer-modified thin-set adhesive instead of thick mortar. This process includes:
- Make sure that the bond beam is precisely level
- Use a notched trowel to apply thin-set adhesive
- Pressing the porcelain coping firmly into the adhesive
- Maintaining consistent spacing between pieces
- Filling joints with grout or flexible joint compound
Porcelain coping usually doesn’t require sealing, but installers will need to follow the manufacturer’s recommendations.

What This Means for DIY Installers
The overall installation steps will remain the same, but the material affects the bonding method.
- Natural stone coping offers small leveling adjustments and works well with traditional mortar beds.
- Porcelain coping needs a precise base and specialized thing-set adhesive.
Knowing these differences helps homeowners to choose the right material and avoid common installation mistakes.
What Is the Bond Beam and Why Must It Be Level?
The bond beam is an emphasized concrete ring that surrounds the pool shell. Coping stones material is placed directly on top of this structure. Checking the beam before installing coping is essential. A proper beam should be:
- Structurally solid
- Level across the pool perimeter
- Free of debris and dust
Check the elevation with a level. Apply mortar to the beam if it has dips or uneven surfaces. Even small preparations and irregularities can cause coping stones to crack or loose joints in the future.
Which Pool Coping Stone Works Best for DIY Projects?
When choosing the right material for pool coping ideas, consider elements like climate, design, and maintenance preference. Check this table to understand the right coping stone for your DIY project.
| Pool Coping Material | Material Type | Best Use Cases | Maintenance Requirements |
| Travertine Pool Coping | Natural stone (limestone family) | Freeform pools, Mediterranean-style landscapes, DIY installations requiring flexible cutting | Seal periodically to reduce water absorption and staining |
| Marble Pool Coping | Premium natural stone | Luxury residential pools, modern outdoor spaces, and formal landscape designs | Requires sealing to prevent stains from pool chemicals, oils, and minerals |
| Limestone Pool Coping | Sedimentary natural stone | Classic pool designs, rustic outdoor environments, and custom pool layouts | Seal regularly to protect against moisture and freeze-thaw damage |
| Porcelain Pool Coping | Engineered ceramic material | Modern pool coping designs, contemporary outdoor patios, porcelain deck systems | Minimal maintenance; sealing typically not required |
| Bullnose Pool Coping | Edge profile style | Traditional pools, family-friendly designs, and curved pool layouts | Maintenance depends on the underlying material (stone or porcelain) |
| Squared Edge Pool Coping | Edge profile style | Geometric pools, minimalist landscapes, and modern pool coping designs | Maintenance depends on the coping material used |
| Custom Pool Coping | Fabricated coping solution | Luxury pools, infinity-edge pools, complex pool geometries | Maintenance varies based on the chosen material |
What Is Paver Base in Pool Coping Projects?
Many homeowners working on DIY coping installation wonder What is Paver Base, and does coping really need it.
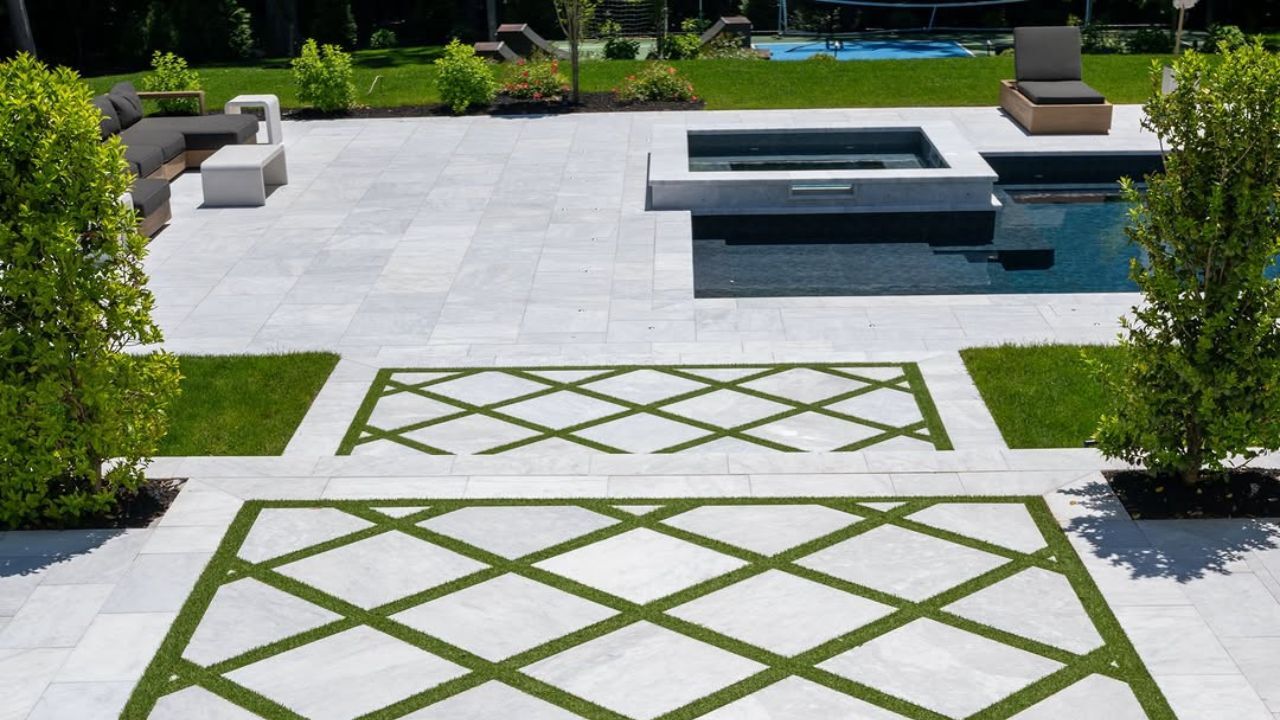
Paver base is generally a compacted layer of crushed stone that supports pavers. Builders working on the pool projects usually place this layer under the surrounding patio. These same principles also apply to how to install pavers for patios and walkways, where a stable base and proper layering ensure long-term durability.
The bond beam is generally used to replace the full paver base for the coping itself. The adjoining deck area is often used. A typical deck base includes:
- Compacted soil
- Crushed stone base
- Bedding sand or mortar layer
This layered system secures the pavers from shifting and supports the coping edge where it is connected with deck pavers.

FAQs About Installing Pool Coping
Let’s answer your questions about how to install pool coping.
What is pool coping?
Pool coping acts as a protective cap that is installed around the top edge of a swimming pool. It covers the bond beam and creates a finished transition between the pool shell and the surrounding deck
What material is best for pool coping?
Travertine is the best material for pool coping. Porcelain is an all-around option due to its non-porous and resistant surface.
How thick should pool coping be?
Most coping stones measure between 1.25 and 2 inches thick. However, the thickness relies on the material and structural requirements of the pool design.
Can homeowners install pool coping themselves?
Yes. Depending on the pool coping material, homeowners can install pool coping successfully.
What is bullnose pool coping?
A bullnose coping has a rounded front edge. It features a curved profile that improves comfort for swimmers and creates a softer visual transition.
Does porcelain pool coping get hot?
Yes. Porcelain pool coping can get hot under direct sunlight, but usually remains cooler than many concrete surfaces.
How long does pool coping last?
25 years or more when installed properly according to the material requirements. Premium quality coping materials can last for decades with proper maintenance.
Bottom Line
Pool coping is not just about aesthetics but functionality as well. The installation requires structural preparation, careful coping stone placement, and proper sealing. DIY installation is also possible if the homeowners are aware of using tools and other construction elements. This can be a rewarding experience to enjoy a durable and attractive pool edge that is done by you.
Whether you choose travertine pool coping, marble pool coping, limestone pool coping, or porcelain pool coping, the installation is the same. Just make sure to follow this guide from preparing the base to coping pave alignments and sealing the surface. You will create stunning pool edges that will last longer while staying functional.