If you want to build steps with pavers, careful planning, precise execution, and knowledge of the best techniques are required. Pavers for step building are a great way to improve the look of your outdoor space without adding much. But this is only possible when you have the right knowledge of the process. If you plan to do the same, this post will guide you. This guide walks you through designing, preparing, and installing steps with pavers that are both functional and long-lasting.
Key Takeaways
- Steps made of pavers are durable and aesthetically pleasing.
- Your structure will be stable and long-lasting if you plan properly.
- It’s important to use the right materials, including base layers.
- The treads and risers of steps should be uniform for safety.
- Structural stability depends on drainage.
- Pavers should be cut and secured professionally.

Step-by-Step Guide on How to Build Steps with Pavers:
Here is how to start your steps project with pavers.
Planning and Design
Step 1 on How to Build Steps with Pavers:
It is very important to have a good plan for laying paver steps. You must determine the number of steps needed.
Calculate Step Dimensions
Start measuring the step dimension by considering these two key measurements:
- Tread depth (run)
It is the horizontal surface of the step. A comfortable depth is 12 to 16 inches.
- Riser height
This is the vertical rise of the step. The standard height is 5 to 7 inches, which will maintain safe and consistent movement.
To calculate the number of steps:
- Measure the total elevation change from the bottom to the top.
- Divide the height by the selected riser height to find how many steps are necessary.
- Ensure the slope integrates well with adjacent walkways and patios.
Choose the Right Pavers
Step 2 on How to Build Steps with Pavers:
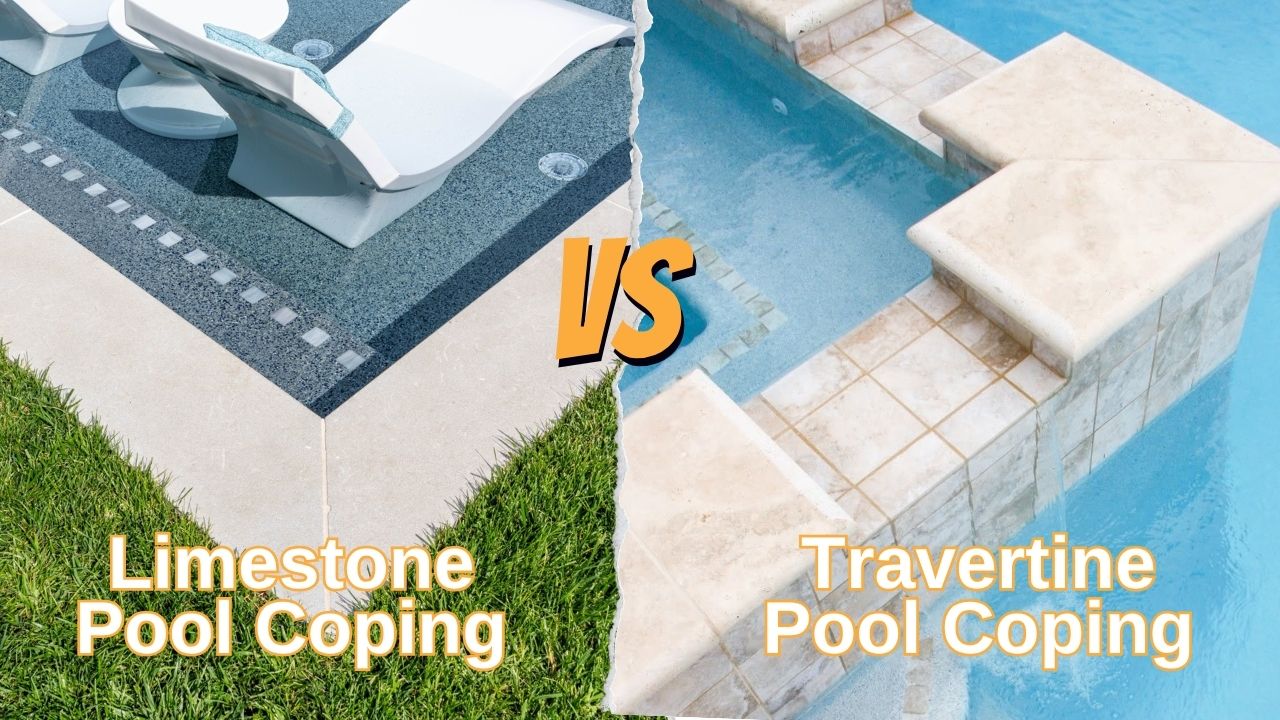
Selecting the right types of pavers is crucial for steps. When building steps with pavers, make sure the selected pavers can withstand high traffic and exterior application. Concrete pavers, brick pavers, and natural stone are some of the most popular choices. Make sure the material complements the surrounding landscape.
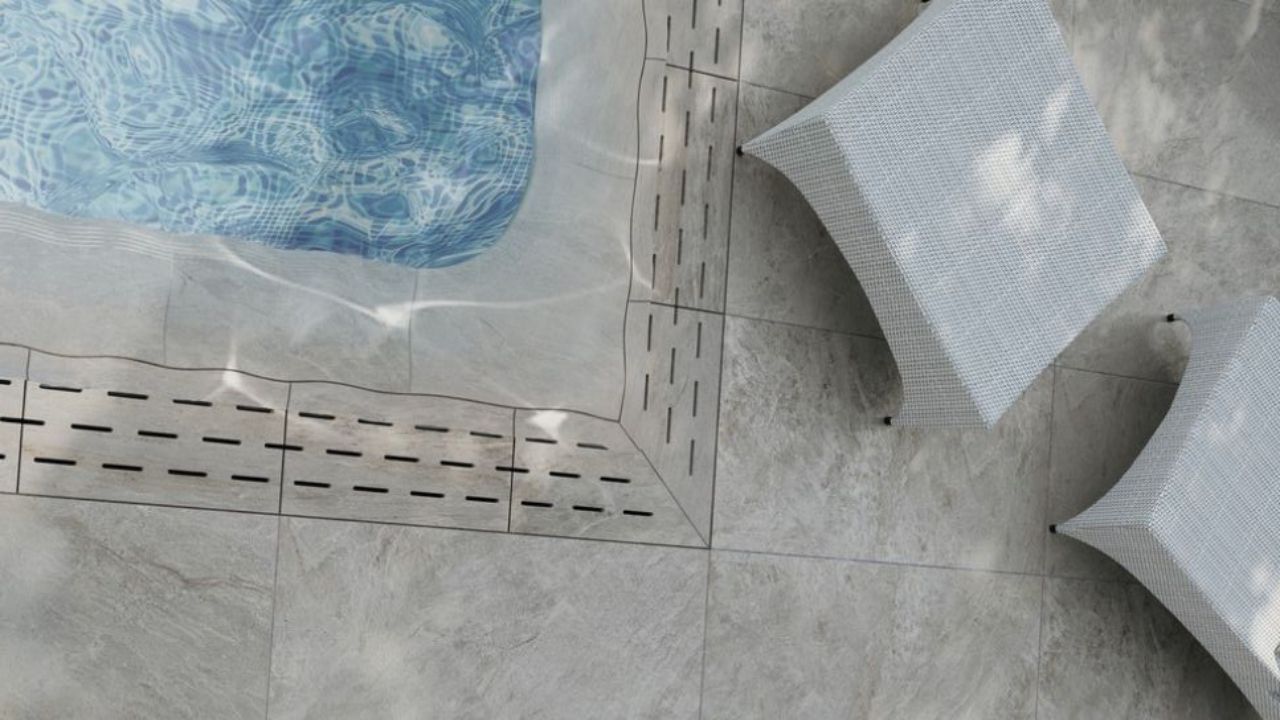
Plan for Drainage
Water accumulation is a serious problem. Not only will it cause a slip hazard on steps, but it will also weaken the steps over time. Incorporate slight slopes (about 1/8 inch per foot) to guide water runoff. Porous pavers or drainage channels help prevent erosion.
Excavation and Base Preparation
Step 3 on How to Build Steps with Pavers:
The stability of the steps depends on the strong paver base. If you overlook this aspect, then you can expect shifting, sinking, and cracking over time.
Mark and Excavate the Area
Mark the desired location by using stakes and strings. Dig down 8 inches to accommodate the base layers. If you are working on a loose solid, then you will have to dig deeper to add more stability.
Install the Base Layers
Use a plate compactor to stabilize the area. Add a 6-inch layer of crushed gravel (¾-inch angular stone) to create a solid base. Compact after every 2 inches. A 1-inch layer of concrete sand is good enough for precise paver placement. Spread it evenly across the base. You will need to add more strength by using the geotextile fabric between the oil and gravel. This will prevent shifting over time.
Building the Steps
Step 4 on How to Build Steps with Pavers
Once the base is stable, it’s time to construct the steps.
Install Step Risers
The risers of the steps will support the tread material and will enhance the structural strength. Choose concrete blocks, stones, or wood-look pavers as alternatives for risers.
- Start at the Bottom
Begin with the lowest step and work upward..
- Set the First Riser
Put the initial row of risers on the compacted base. Make sure they are balanced and firm. Adjust them with a rubber mallet if needed.
- Secure with Adhesive or Mortar
You should use construction adhesive to keep modular concrete blocks in their positions, while you should use mortar for natural stone.
- Backfill with Gravel
Fill the space behind each riser with compacted gravel to provide additional support.
Lay Paver Treads
Arrange pavers over the compacted base and riser. Make sure each paver is hanging uniformly with ½ to 1 inch. Adjust as needed to maintain a flat surface. Use paver edge restraints or mortar to prevent movement over time.

Cutting and Fitting Pavers
Step 5 on How to Build Steps with Pavers:
Perfectly fitted pavers can enhance the visual appeal and functionality of steps.
- Measure and Mark Cuts
Use a chalk line to mark areas where pavers need trimming.
- Cut Pavers Accurately
A wet saw with a diamond blade provides clean and precise cuts. Alternatively, a hammer and chisel work for minor adjustments.
- Dry Fit Before Installing
Dry fit them to make sure that the alignment and pattern consistency, before you secure the pavers.
Finishing Touches
Step 6 on How to Build Steps with Pavers:
Now complete the project with the final touches.
Compact and Secure the Pavers
Lightly compact the steps to set the pavers. Place a rubber mat over the plate compactor to avoid damage. Sweep polymeric sand into joints to lock pavers in place and prevent weed growth. Lightly mist the sand to activate bonding agents.
Add Edge Restraints for Longevity
Edge restraints will prevent lateral movement. You should use the concrete edge curbing, plastic edging, or metal restraints along the step perimeter.
Sealing Pavers (Optional)
Sealing pavers with the right paver sealers to enhance the durability and color retention, especially in high-traffic areas.
How to Maintain Steps Pavers After Building?
After building the steps with pavers, you should focus on regular maintenance and longevity. Here is what you need to do.
Regular Cleaning of Pavers Steps
Regularly sweeping the debris every week. You can power wash the pavers. Sweep debris weekly. Power wash pavers annually to remove dirt buildup. Address any movement immediately by re-leveling pavers. Reapply polymeric sand if you start to develop the gaps. Clear nearby drainage paths to prevent water damage. If there is pooling around, then adjust the slopes.

Final Thoughts
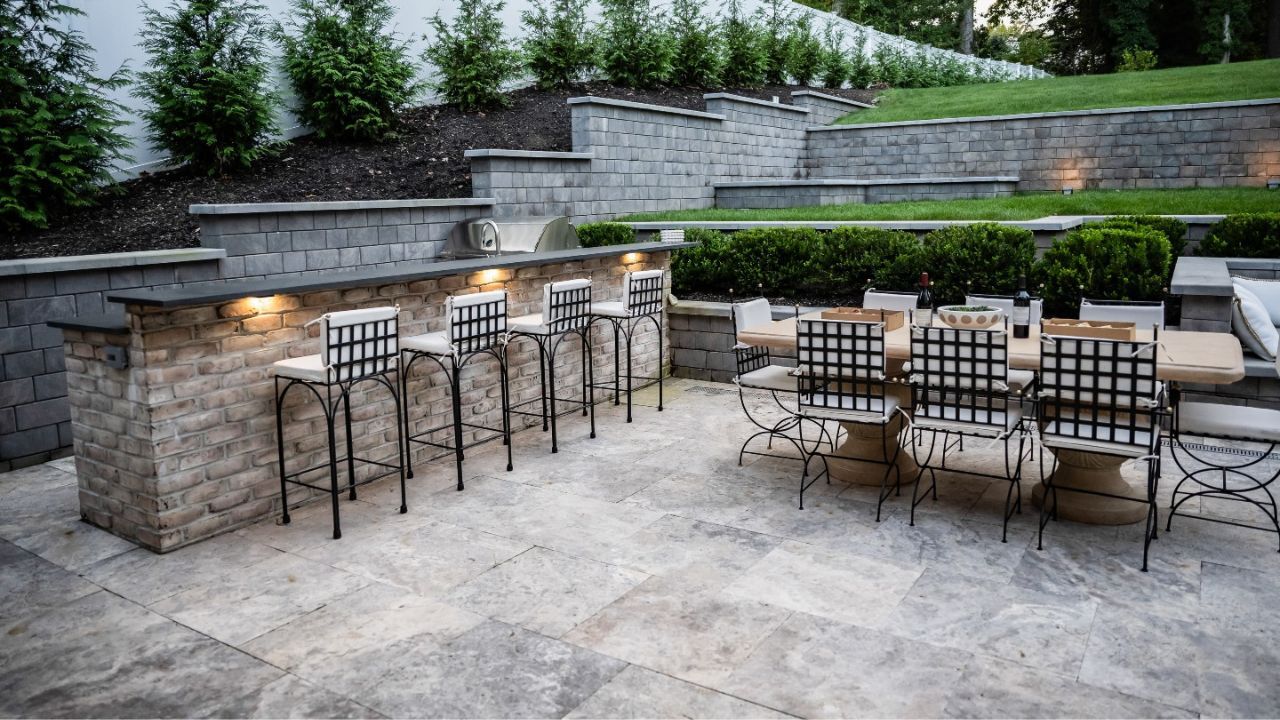
Building the steps with pavers is a practical choice to enhance the look and feel of the outdoor space. With proper planning, a strong base, and careful installation, you can create durable, safe, and visually appealing steps. Whether you’re working on a DIY project or a professional installation, following best practices ensures long-term performance.
For those looking for high-quality pavers that blend aesthetic appeal with durability, NT Pavers offers a selection designed for outdoor applications. Investing in the right materials and techniques will give you steps that stand the test of time.