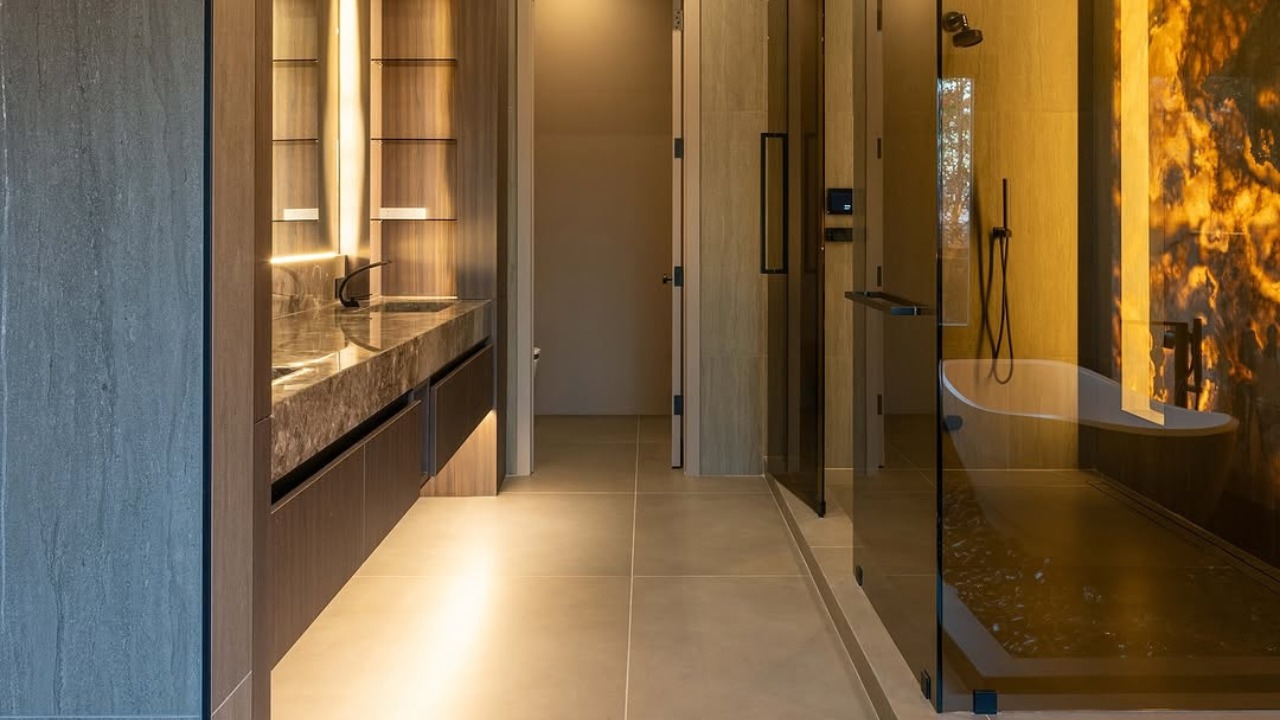
Bathroom floor tiles determine the look and feel of your bathroom. They are not just for aesthetic purposes but offer slip resistance and an easy-to-clean surface, too. This is why knowing how to tile a bathroom floor can be a rewarding experience. However, most homeowners who want to learn tile the bathroom floor are hesitant because of a lack of knowledge. Not only does it enhance the look and feel of your bathroom, but it also improves its durability and value. With the right tools, materials, and patience, even beginners can create a professional-quality tile installation. Here is how you can tile a bathroom floor effortlessly.

Tools And Materials Required To Tile A Bathroom Floor
| Tools | Materials |
| Notched Tile Trowel | 12-inch Ceramic or Porcelain Tile |
| Rubber Grout Float | 3/4-inch Tongue-and-Groove Plywood (as needed) |
| Chalk Snap Line or Laser Level | Uncoupling Tile Membrane |
| Multi-tool with Wood-cutting Blade | Floor Leveling Compound |
| Wet Tile Saw | Thinset Mortar |
| Rail Tile Cutter | Tile Grout |
| Tile Nipper | Grout Sealer |
| Indelible Marker | Grout Haze Remover |
| Tile Spacers | |
| Bucket | |
| Thin Cardboard Spacer |
When working with bathroom flooring and tile then go for slip-resistant and moisture-proof materials. Porcelain tiles are dense and non-porous, making them a perfect choice for wet environments.
Step-by-Step Guide on How To Tile A Bathroom Floor
Here is an easy step-by-step guide that will help you tile a bathroom floor without making mistakes and mess.
Prepare and Clean the Subfloor
Step 1 of How to tile a bathroom floor
To install the bathroom floor tile is prepare and clean the subfloor. It is the foundation that determines the longevity of your tile installation. Start by removing the old flooring materials, debris, and nails. Vacuum the area and ensure it’s dry.
- Check for level with a level or straightedge. Use a leveling compound if the floor dips or rises to even it out.
- If you notice any damage, repair it by filling the crack holes with floor patching compound.
- Install the backer board. Attach a cement board or tile backer board using thin-set mortar and screws. This adds strength and moisture resistance.
A level, solid, and dry surface ensures your bathroom tile flooring won’t crack or loosen over time.
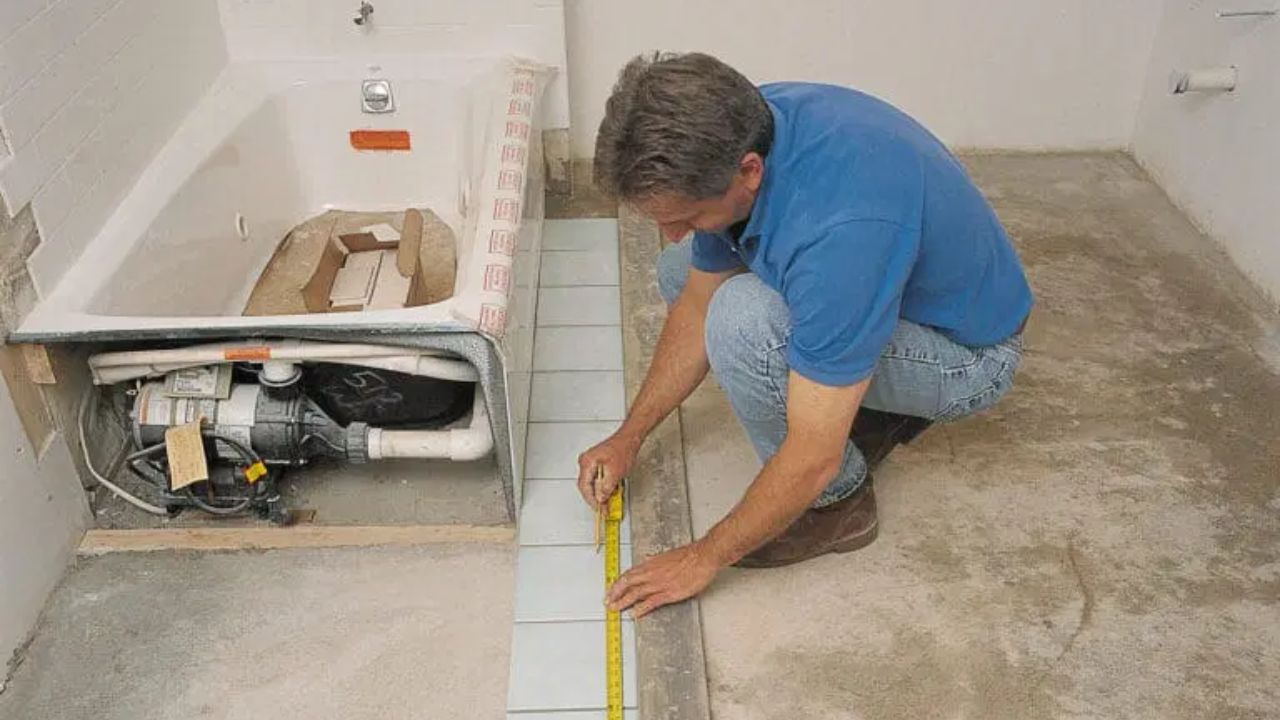
Plan the Layout
Step 2 of How to tile a bathroom floor
Good layout design prevents awkward tile cuts and offers perfect symmetry. Plan your layout by:
- Find the center point by measuring the length and width of your bathroom. Mark the intersection.
- First, lay the tiles dry. Place tiles along both axes with the spacers to visualize your layout. Remove the tile if you are not satisfied with the layout.
- Make any required adjustment. Adjust the pattern so that the tile cuts on the walls are balanced on both sides.
This is an essential step when learning how to tile a bathroom floor. It prevents uneven joints and improves visual appeal.
Mix and Apply Thin-Set Mortar
Step 3 of How to tile a bathroom floor
Follow the manufacturer’s directions to mix thin-set mortar, and it should look consistent like peanut butter.
- Use a 1/4 inch (6 mm) notched trowel for standard tiles or a 3/8 inch (10 mm) trowel for larger formats.
- Spread a small section at a time (about 1 m² / 10 ft²).
- Hold the trowel at a 45° angle to create even ridges.
These ridges will ensure full contact between mortar and tile. This will improve the stickiness and reduce hollow spots.
Lay the Tiles
Step 4 of How to tile a bathroom floor
Now you should lay the tiles from the center point outward. Make sure to take care of symmetry.
- Press each tile gently straight or diagonal into the mortar and twist each tile slightly, which will create a strong bond.
- Insert spaces (typically 2–3 mm or 1/16–1/8 inch) between the tiles to create consistent grout lines.
- For better adjustment, lightly tap the tile with a rubber mallet into place. Make sure it sits evenly.
- Frequently check alignment using a straightedge.
For natural stone tiles from NT Pavers, handle carefully to preserve their edges and finish.
Cut Edge and Corner Tiles
Step 5 of How to tile a bathroom floor
You will have to deal with the irregular corners, plumbing cutouts, and edges in the bathroom. This is why precision is required for perfect tile placement.
- Cut the tile straight with a tile cutter.
- Use a wet saw for thicker or stone tiles.
- Mark any plumbing holes with a pencil and use a diamond hole saw or nipper tool.
It is recommended to measure twice before cutting around a fixture like a toilet flange. You cannot fix the mismatched edges once they are installed.

Allow Mortar To Cure
Step 6 of How to tile a bathroom floor
Once you have placed all the tiles, let the mortar cure. Let it cure for 24 hours. While curing, do not walk on the surface. Proper curing will create a firm bond, which will prevent tile shifting.
Apply Grout
Step 7 of How to tile a bathroom floor
Grouting will seal the gap and complete the tile surface.
- Mix the grout according to the instructions until smooth.
- Spread the grout diagonally with a grout float across the tiles. Press it firmly into the joints.
- Remove excess grout with the edge of the float.
- Wipe the surface for about 15-30 minutes. Use a damp cloth or a damp sponge for this.
Use unsanded grout for narrow joints. For wider joints, sanded grout works better.
Clean and Polish the Surface
Step 8 of How to tile a bathroom floor
- Once you start to notice the grout haze, wipe the tiles with a clean, damp cloth or microfiber towel. For stubborn residue, many homeowners also use the best grout cleaner to restore shine and remove deep grout haze.
- Once the grout has cured (24-48 hours), use a grout haze remover if needed.
This step restores the tile’s natural shine and gives your new bathroom floor a finished look.
Seal and Protect the Floor
Step 9 of How to tile a bathroom floor
Natural stone tiles require sealing to retain it’s beauty and surface.
- Apply an appropriate sealer for the natural stone tiles. This will protect it against stains and moisture.
- Porcelain, vinyl, linoleum, and ceramic tiles generally don’t need sealing, but sealing grout lines can extend their life and reduce cleaning needs.
- Use a soft mop and pH-neutral cleaner to maintain your bathroom tile flooring long-term.

Common Mistakes to Avoid When Tiling A Bathroom Floor
As a beginner, if you have followed these steps, then you have done a great job. However, you will need to avoid some mistakes for the best results.
- Do not skip surface preparation.
- Using the wrong trowel size
- Walking on fresh tiles too soon
- Neglecting waterproofing in wet areas
- Failing to seal porous tiles
Every mistake will result in cracked tiles, uneven floors, or water damage in the near future. So you will need to take your time and follow every step carefully.
FAQs About How To Tile A Bathroom Floor
Let’s answer your questions about how to tile a bathroom floor for beginners.
What should you put down before tiling a bathroom floor?
A clean and level subfloor with a waterproof of waterproof membrane to prevent cracks and moisture damage.
Can I tile my bathroom floor myself?
Yes. You can tile your bathroom floor yourself with proper tools, preparation, and patience.
Where do you start tiling a small bathroom floor?
Start tiling from the center of the room and work outward, which will ensure even cuts and balance.
In what order should you tile a bathroom?
Tile the floor first, then the walls, and finish with the trim or accent tiles.
What is the 1/3 rule for tile?
The 1/3 rule means offsetting rectangular tiles by one-third of their length to reduce lippage and create a natural layout.
What happens if you don’t put sealer on grout?
Unsealed grout absorbs moisture and stains easily. It will lead to discoloration and may grow mold.
What should you not do when tiling a shower?
Don’t skip waterproofing, uneven leveling, and using non-waterproof adhesive in wet areas.
Bottom Line
Learning how to tile a bathroom floor may seem intimidating, but it can be a rewarding experience for home improvement. With proper guidance and patience, it can be achieved. Every step of bathroom tile flooring, from preparing the subfloor to sealing the grout, results in a long-lasting floor. It will also resist water damage with proper sealing.
Whether you want porcelain, ceramic, or natural stone tiles, the goal will be the same. You should opt for a durable and elegant surface that reflects care and craftsmanship. If you want to start your bathroom floor tile project, then contact NT Pavers for, collection of bathroom tile flooring. They are designed to combine beauty, resilience, and easy maintenance for every home.
If you’re exploring different styles, check out inspiring Bathroom Floor Tile Ideas to choose a design that fits your bathroom aesthetic.