After cutting granite, you should know how to polish granite edges after cutting. This is because the edges remain raw and jagged after being cut. Polishing will help the granite edges shine. It will be helpful in:
- Chip prevention over time
- Matches the finished surface of the countertop or tile.
- Makes installation secure and more professional.
This makes the step critical, especially when granite will be used in much visible way, such as countertops, stair treads, or edge trims used around pools and patios. Continue reading the following for a better idea.
Key Takeaways:
- Polishing granite edges is crucial after cutting to achieve a clean, finished appearance.
- Use the right tools for smoother and accurate results.
- Safety and preparation matter as much as the polishing process itself.
- This step-by-step guide is perfect for DIYers, contractors, and homeowners.
- Polishing granite edges can be managed with proper knowledge and approach
Tools Required To Polish Granite Edges After Cutting
- Variable-speed angle grinder (wet or dry)
- Diamond polishing pads (50 to 3000 grit)
- Backer pad for the grinder
- Clamps (to hold the slab securely)
- Spray bottle (for water if working wet)
Materials Required To Polish Granite Edges After Cutting
- Granite sealer
- Soft cloth
- Painter’s tape
- Safety goggles and gloves
- Dust mask or respirator
8 Steps About How to Polish Granite Edges After Cutting
Learning how to polish granite edges after cutting is not hard, especially when you have a little technical knowledge of certain tools. Here is our best way to smooth granite edges
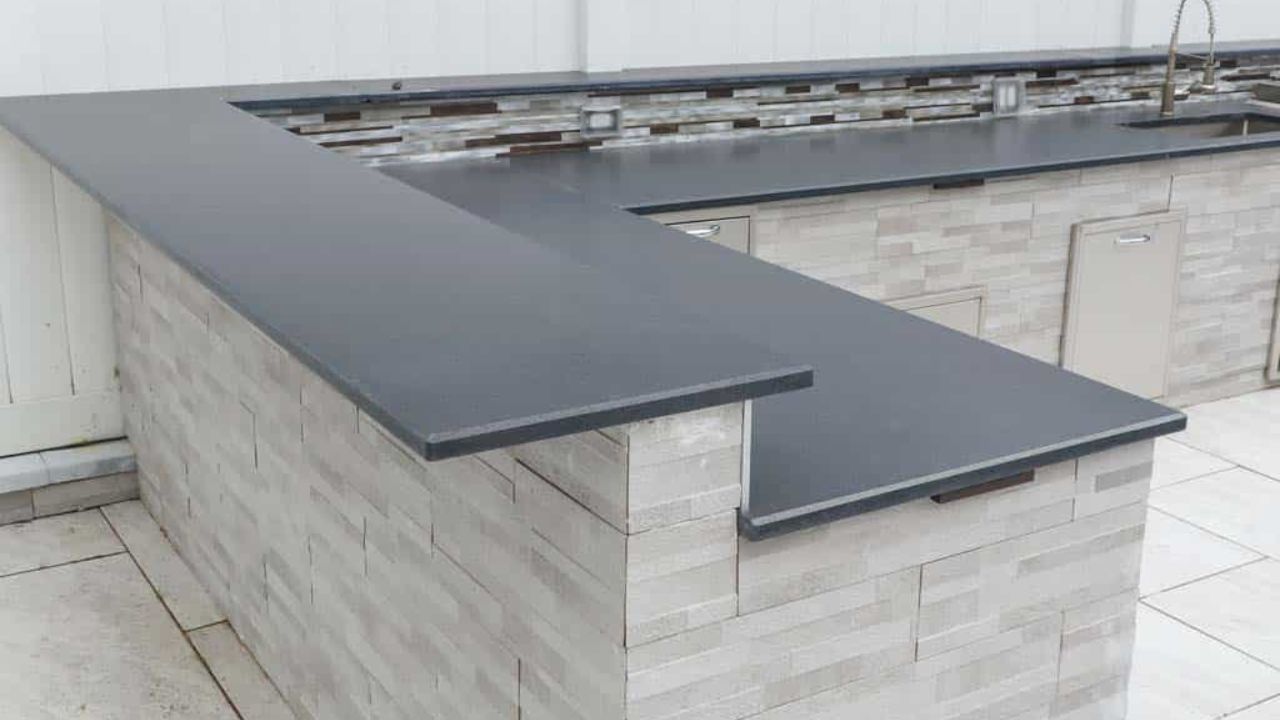
Secure the Granite Slab
Step 1 of How to Polish Granite Edges After Cutting
Securing the granite is the crucial step when learning how to polish granite edges after cutting. It protects your tools and improves polish quality. Start by:
- Place the granite slab on a stable surface such as a workbench.
- Secure it with the clamps firmly to prevent shifting
- Apply painter’s tape to protect the surface around the edge.
Start With the Lowest Grit (50 or 100)
Step 2 of How to Polish Granite Edges After Cutting
You will need to attach the backing pads to the grinder by rotating them clockwise around the granite edge finishing tools. Keep it tight when polishing the granite so it doesn’t come loose.
- Your first grit pad should be 50.
- Use gentle pressure to smooth out the granite edges
- Move the tool in consistent, circular motions.
- Keep it even and do not spend too much time on one side only.
- While working, apply water to the edges to reduce heat and dust.
- Make sure the surface is smoothed out before changing the pads.
Gradually Increase Grit Levels
Step 3 of How to Polish Granite Edges After Cutting
After 50-grit, proceed to 100-grit. Repeat the same polishing movement. Continue using the granite edge finishing tools using each grit in sequence:
- 100
- 200
- 400
- 800
- 1500
- 3000
When polishing granite edges at home, opting for higher grits will not remove the material but refine it. Skipping grits will lead to visible scratches. Maintain steady hand pressure and rhythm.
Use Water if Wet Polishing
Step 4 of How to Polish Granite Edges After Cutting
When wet polishing granite, keep a steady stream of water flowing onto he polishing area.
- Water will cool down the pads and prevent burning.
- You can also use a simple hose or spray bottle for this purpose.
- Use water around electrical tools with caution.
- Only operate tools designed for wet use.
Polishing From Left to Right
Step 5 of How to Polish Granite Edges After Cutting
- During the DIY granite edge polishing process, you can shift the grinder in quick, horizontal motions.
- When you get to the topmost corner of the edge, keep the grinder at a 45-degree angle.
- For visible scratches to disappear, polish corners for at least 5 seconds while applying consistent pressure.
- Use the same left-to-right motion as before to buff the rest of the granite edge.
- Continue applying pressure to the granite’s bottom corner.
Wiping Down With Water
Step 6 of How to Polish Granite Edges After Cutting
While learning how to polish granite edges after cutting, you should clean the edges with water consistently. This will assure you that the edges are smooth with the polish. If you are noticing that the edge is still wet, then you will need to use the grinder again, as the edges are still not smoothed out yet.
Buff The Granite Edges
Step 7 of How to Polish Granite Edges After Cutting
Once you have used the 3000-grit pad, you can apply the granite polishing compound or buffing powder. When polishing granite after cutting it, this step is though optional, but can enhance the depth and beauty of the granite color. To buff the granite edges, you will need:
- Low-speed buffer or variable-speed angle grinder
- Felt buffing pad
- Non-acidic, pH-neutral granite polishing compound or powder
- Spray bottle with water
- Clean, soft cloth
Buffing Process:
- Use the grinder for this process and attach felt pads for buffering.
- Apply polishing compound to the ad or granite edge.
- Lightly mist the surface with water.
- Set the buffer to low speed (800–1500 RPM).
- Move the pad slowly in overlapping passes, and do not add too much pressure.
- Let pad and compound do the work.
- Wipe clean with a soft cloth.
- Repeat if needed for deeper gloss.
- Opt for the high-gloss buff to prevent dust accumulation.
Seal the Edge
Step 8 of How to Polish Granite Edges After Cutting
Once the buff is completed, you will need to seal the edge. It is crucial for kitchens and bathrooms. It prevents staining and helps the polish last longer, even in high-moisture environments.
- Use a penetrating granite sealer.
- Apply it with a soft cloth or sponge and allow it to soak for 10–15 minutes. (Follow the manufacturer’s instructions.)
- Wipe off excess and let it cure for 24 hours
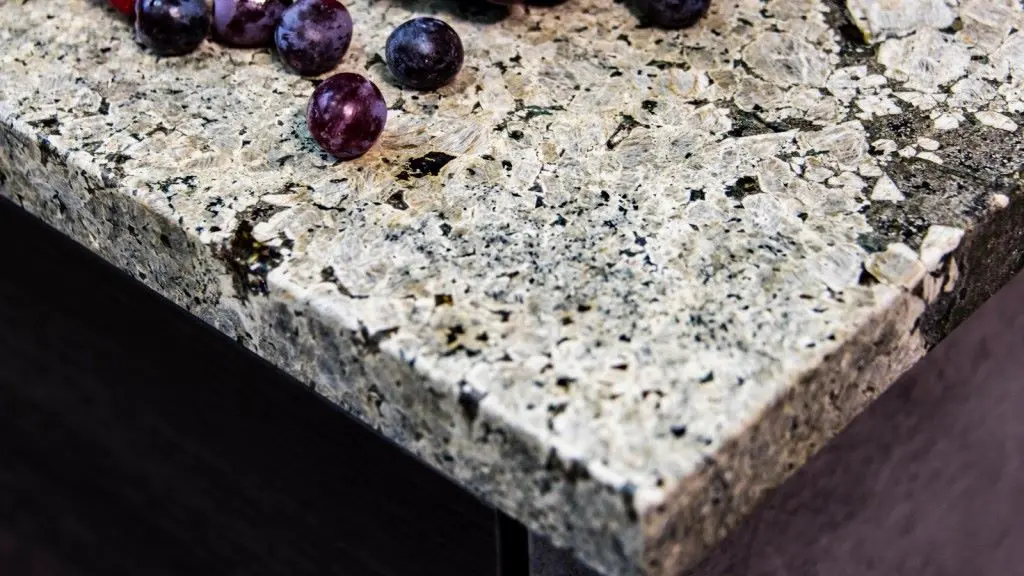
Common Mistakes to Avoid
Even when you have the idea of how to polish granite edges after cutting, it is possible to commit these mistakes. Avoid them for the best results.
- Do not use too much pressure as this can gouge the stone and reduce shine.
- Not profiling the edges will result in a poor shape, even when you have done your best with polishing techniques.
- Polishing dry without experience will increase the risk of damaging the stone.
- Not cleaning between grits will accumulate the dust and scratch the surface.
- The wrong tools will end up in low-quality pads, or grinders may overheat or cause chipping.
FAQs for the Granite Edge Polishing Process
These are some of the most asked questions about granite edge polishing techniques.
What’s the best grit to start polishing granite?
Opt for 50-grit if the edges need shaping. If they are already shaped, then 100-grit for edges is good.
Can I use a regular grinder for polishing?
Yes, but make sure it’s variable-speed and compatible with diamond polishing pads. The spinning speed of standard grinders can be too fast and may damage the granite.
Should I seal the edge after polishing?
Yes. Sealing is highly recommended, especially in kitchens or bathrooms. It preserves the finish and protects against stains.
How long does the process take?
For a standard 4–6 foot edge, expect to spend 2–3 hours, depending on the edge condition and desired finish.


